Tuesday, May 31, 2011

365 Day Challenge: Day 3


Edit:
I apologize, I thought this posted!
Was just checking my phone in English class and saw it didn't post!
Here you go!

Day 3
Today I was with my friend and just had to post "my" picture ;)


I wish I was an actually bunneh sometimes...... :3

-hugs and smiles-
Bunneh
 

Sunday, May 29, 2011

365 Day Challenge: Day 2


Hey guys :)
11:25PM so racing against time xD
(Edit this post later)


Edit: 
Sorry about that :)
Here are a couple pictures!

Day 2
DOMO
Sorry for the blinding flash that I used to take this :) No makeup ^-^

And just as a bonus.....
My baby picture at exactly 1 years old! They chopped off all my hair  almost :3
-hugs and smiles-
Bunneh 

Saturday, May 28, 2011

365 Day Challenge: Day 1

You heard right!
Bunneh is doing the 365 Day Challenge!

If you don't know what that is, here is a brief explanation!

It's a trend that has been going on with blogs for a while!
You generally just do a quick post with the picture and a comment or two.
On Facebook, it became largely popular as the 30 day or 60 day challenge...
But in my case...
Every day for the next 365 days, I will be adding at least one picture to this blog under the challenge!
The picture can generally be anything!
Though most of my pictures will be based on something related to moi!
Once I use a picture, I cannot use it again.
The picture has to be taken from the same day it is posted.
You cannot use pictures from a previous day 
(unless you get lazy and forget to add pictures on the same day like me....)

With those rules set, let us get started!
Day 1

Yesh, I know I posted this picture already today.... shhh ;)
-hugs and smiles-
Bunneh

Announcement ♥ 28 May 2011

Bunneh's Announcements

You heard it, I, Bunneh, am back from my one month hiatus!
But this time, I promise to not randomly disappear again.
(If I break it, feel free to take my phone and smash it O__O)

But since it has been so long..
Here are some announcements and updates!

 
I will be adding the pictures for the Artistry review in the next 24 hours.
I'll be posting make-up looks soon too!
Plus, I'll take pictures of key pieces of my wardrobe for Summer 2011 @_@
Expect a song soon possibly (^ . ~)
Random miscellaneous notes coming too!

However...
The major announcement is...
-drum roll-

I'm going to do the 365 day challenge (again....)!
Old readers may remember how I failed....
A week after I started...
But this time, I'm VERY determined to do this!
Plus, I have other friends who are going to be doing the same!
^-^ So believe me this time, IT SHALL WORK!


That's all for this time!
Enjoy the weather, it's almost summer!
-hugs and smiles-
Bunneh  

Bunneh ♥ 22-28 May 2011

Bunneh is back! ^-^
Bunneh loves music!

 Excuse me for the long hiatus from this blog.
I was experimenting with a few other sites.
Tried a few other sites privately.
Was thinking of tumblr for a while, but gave up on it.
But while I was testing out other sites, forgot about this blog!

So, here is an extra long update of Bunneh's life!

But moving on, Sunday the 22nd, had my last concert of the 2010-2011 season T_T
So sad.
Going to miss talking to all my other fellow bunneh friends...
getting in trouble with my conductor...
getting nearly kicked out of practices by bringing soda in...
meeting other musicians...
running with my friends to practice late....
running off to the bus stop after practices...
practicing violin with friends during sectionals....

My old phone died.
So sad, it was a tiny cute phone.
But now... Bunneh has...
An HTC Inspire 4G! ^-^
Went into AT&T thinking of an iPhone 4G...
Instead got Inspire :D

◦ ᴈ◦ Android is fun to mess around with!
Definitely recommend it!

At school, with other volunteers, did health presentations for GSA!
Yesh, I am an LGBTQ ally!
Taught my classmates about the true meaning of words :)
It's very fun jumping up and down!

Finally today at the zoo, I volunteered for my orchestra's organization it belongs to!
We did this thing called an instrument petting zoo!
I got to teach little kids (and even old people!) how to play flute and other instruments!
Was very fun! 

Here are pictures from the zoo!

Tiger o__o
^-^ Penguins

Sleepy lion is sleepy

That's it for now!
Will be posting an announcement on my new plan for this blog!
-hugs and smiles-
Bunneh

Tuesday, May 3, 2011

Artistry

Note: Pictures have finally been added and some reviews have been tweaked a bit :)

Artistry Review

I have been currently reviewing Artistry products for a while now.
I first used Artistry when I got introduced to it 2-3 years back.
So with this knowledge...
I give to you...
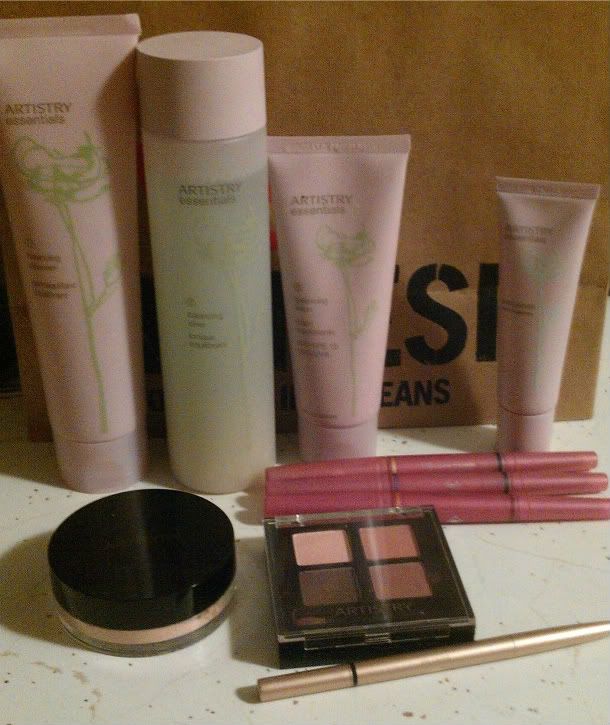
A review of Artistry products, ranging from skin products to cosmetics!
- Bunneh


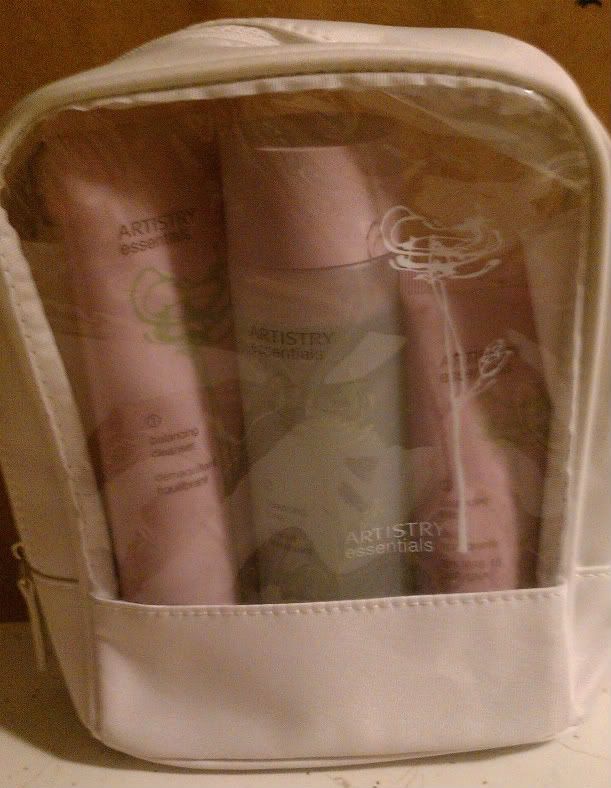
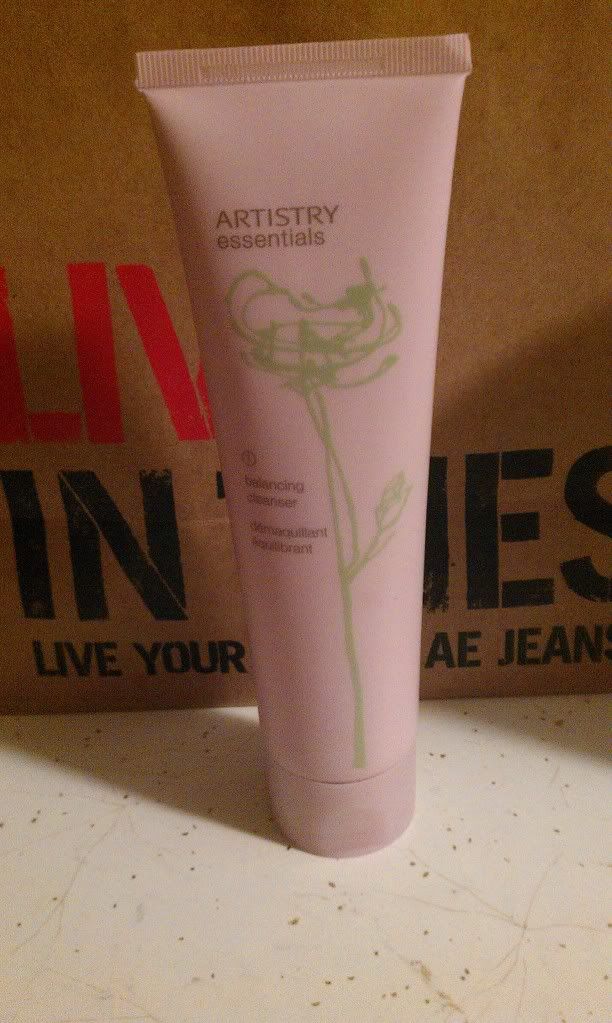
Artistry Essentials Balancing set

What it is: 3 part kit consisting of cleanser, toner, and lotion
Bunneh's Rating:

Pros:
Came in a pretty cute traveling bag :)
Smell is pretty nice, fairly distinct from other products I've used
Noticed improvements fairly quickly after use
Packaged in a lovely cute and simple design

Cons:
Did not completely clear up my own skin issues
Slightly drying
Major issue with the toner
For the price, not that great a deal


1. Cleanser

Bunneh's Rating:

Got to say, when I first used it, I was slightly.... uncertain.
Many cleansers I have used don't even seem to work.
I noticed improvement with my skin after a few days of use.
I love the smell, it's not too heavily fragrant, but it's enough to smell nice.
When you first squeeze some out, it comes out in a clear gel.

I first wash my face with warm water.
With my face damp, I squeeze a pea size amount of the cleanser out.
(You barely need any, that is literally all you will need)
In small circular motions, I spread it all over my entire face.
(Warning: Make sure you avoid your eye area for safety precautions)
After I spread it around for a while (1-3 minutes)
I just wash it off by splashing my face and gently in circular motions wash it off.
Once I wash off all the cleanser that way, I just splash cold water on my face for blood circulation.
Pat my face dry and done!

2. Toner

Bunneh's Rating:

I must say, I was terribly disappointed with this toner.
The bottle it came in was terribly cute and I loved how it looked in my bathroom.
But after using it the first time, I could feel my skin just dry out, and it was just..
My skin had this awkward tingling feeling to it and tightened.
Worse, it made my acne/pimples sting slightly.
I won't even bother writing how I used it.
I tried using this for 3 days, and I stopped immediately after 3 days.

This product in this set was its ultimate downfall in my opinion.
It is incredibly drying, and although the pimples did get smaller...
It is not worth it.
It just isn't the right type of controlling acne/pimples.
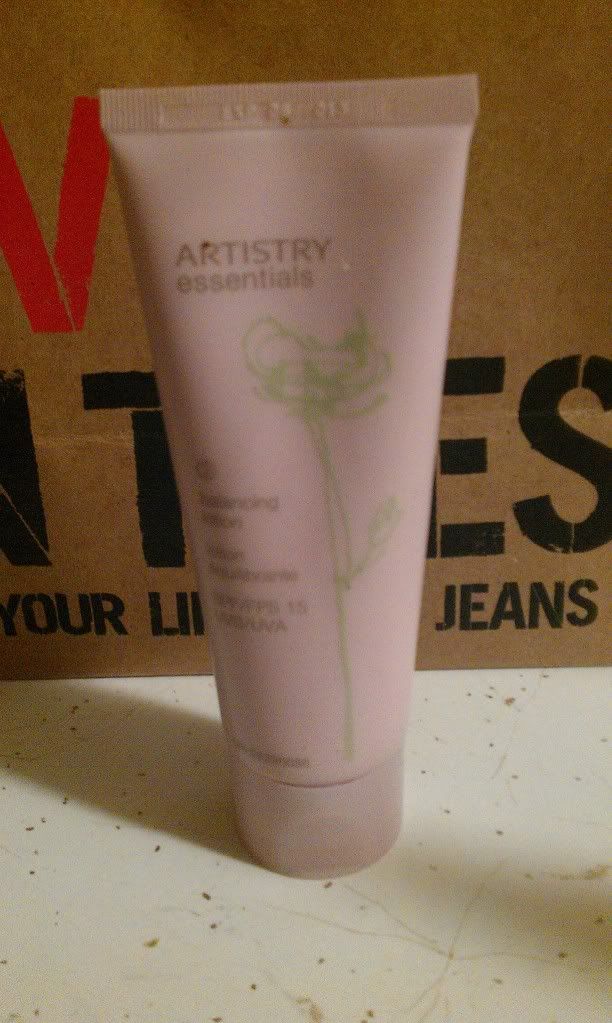
3. Lotion


Bunneh's Rating:

It's... okay.
It isn't very hydrating (especially if you used the toner).
But I did like the smell.
It is not the worst lotion I have used, thus the 2 ♥'s.
I did not like how there was very little of it.
It has a creamy texture and the color is white.

But, I have found a better use for it to be honest.
For school, I tend to not use concealer.
There is no possible way concealer will last for me at school...
But there are those days my dark circles are just... BAM! (LOL)
So, I just use my mineral powder (from Artistry) and this lotion together!

I put this lotion at the darkest parts of my dark circles under my eyes.
After, I just pat on some mineral powder lightly where I put the lotion and just blend in the area.
The lotion itself is not greasy or oily, so put on the powder as soon as possible.
I find it great as another option from concealer.
It's not full coverage as a concealer would do, such as an extremely dark circle day, but it's enough to keep you looking like a zombie.


Overall the Artistry Essentials set did not meet up to the standards I was looking for.
I ended up just not using my toner and just use the cleanser and lotion.
Not the best skin care set I have used, but it's okay.
I would like to mention it is fairly pricey though.


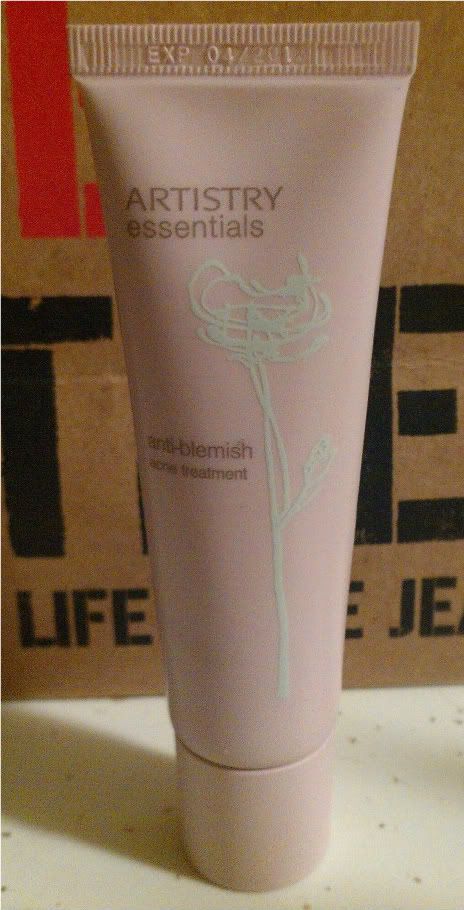
Artistry Essentials Anti-Blemish Acne Treatment
What it is: Tube of anti-blemish acne treatment
Bunneh's Rating:

Pros:
A little bit goes a long way
Smell is pretty nice
Can put directly one just one pimple or spread all around
Does work... ish
Cons:
Does not get rid of the pimple/acne completely
Pricey


Lately for the first time, I have been breaking out with acne on my forehead a bit.
So I needed a product that could do double duty.
The areas I did apply, you could definitely see the difference.
But the pimples/acne did not go away completely.
It was there....
Just not as big and bad a** like before.

I'm not sure, it did work in some places.
But it just didn't work completely.
I'm glad it did help control my acne though, it isn't as wild as before (thank gawd)
Helped with redness.
I did notice that it was slightly drying though. 

So, it's a nice little product with that.
I'd definitely use this product and another product though to completely rid of acne.


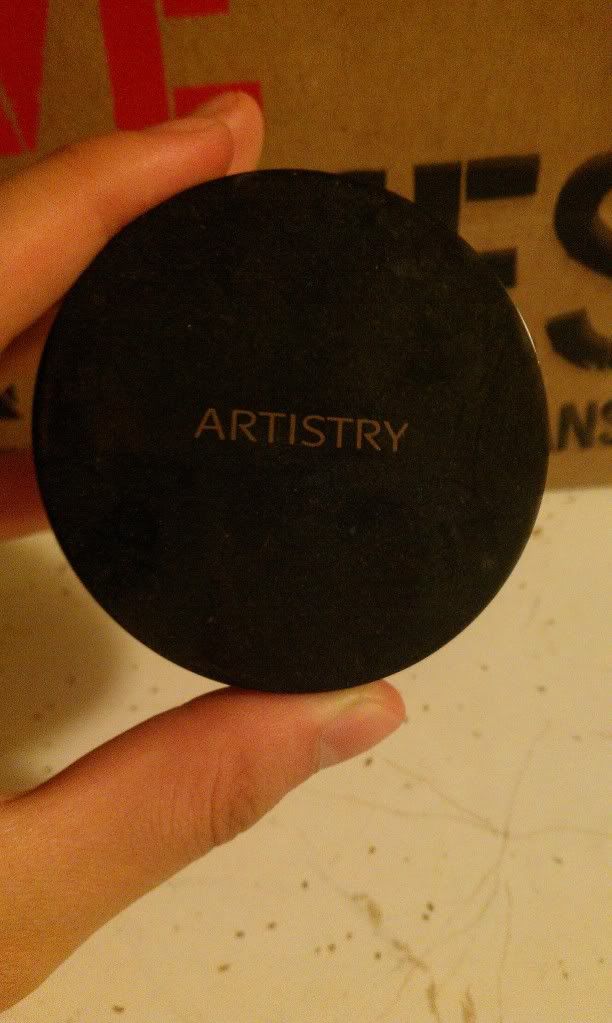
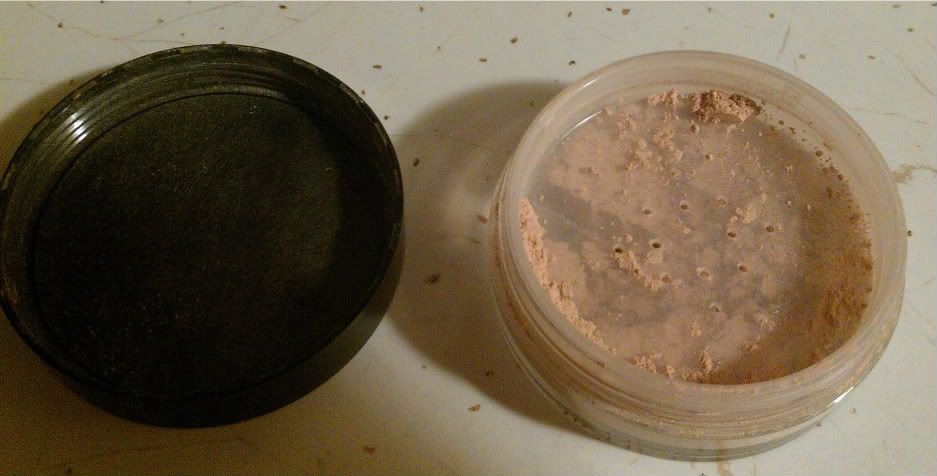
Mineral Foundation (Light)
What it is: Loose mineral foundation
Bunneh's Rating:

Pros:
Very light, I can't even feel it on my face
It's mineral, so it won't easily clog your pores, helps block bad things out :P
Only need to use a little bit, moderate amount if you really want to cover your face....
 Container looks professional :P

Cons:
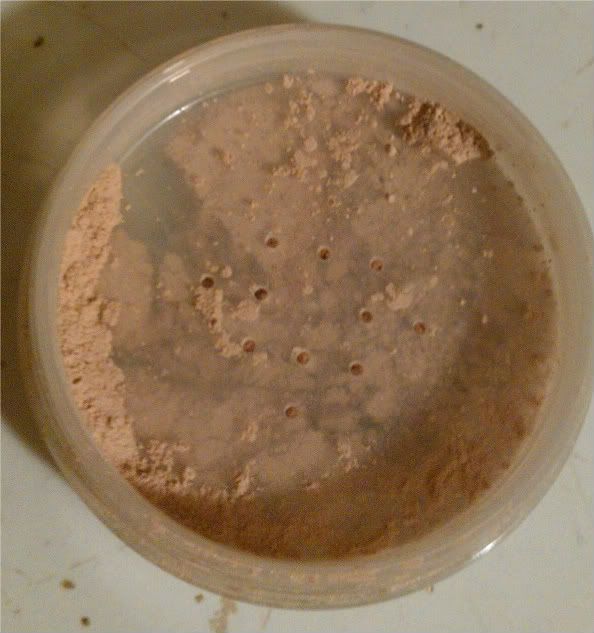
You can't pop out the plastic part with all the holes to either put back powder or take out
The holes are very small... you're gonna have to flip your container upside down and tap it a few good times with your make up brush
If you were traveling and your mineral powder all decided to settle on top of everything umm.. good luck, you're going to have to use it all since you can't put it back under the plastic part


My face tends to have some redness in areas such as my nose, cheeks, etc.
I personally put the powder in the lid of the container, swish around lightly with my kabuki brush, and apply over my face in a circular motion. 
It covers the redness almost immediately and its a definite improvement

Only thing that bothers me is the plastic bit with the holes.
I have with previous situations like this, popped out the plastic bit in case there was too much powder or too little.
I know for some, it is better for them if they cannot pop it out.
But I personally like it if I can pop it out in situations like this for convenience.


Additionally, another slight flaw is that the holes are very, very small.
Yes it can be good so powder does not come out.... but that IS the flaw.
To get a small amount of powder out, I have to flip it over, and hit it with the end of a make-up brush.

Overall, I definitely love this product and recommend it! ^-^ ~♥


Artistry Color Quad in Medium (Fall/Winter 2010 set?) 
What it is: Typical four color set
Bunneh's Rating:

Pros:
Colors can be used to create a lighter smokey eye
Can be used as blush/bronzer/contouring
Colors are nice individually

Cons:
It's nothing new, it's nothing extraordinary, just... typical colors
Eyeshadows did not stick very well
When you put blush in a tiny square, very hard to not mix with other colors...


The set is convenient in going from a light, office look to a more heavier look.
The colors are spun silk (highlight), espresso, cocoa (base), and caprice (blush/bronze)
You can do simple looks with this, using the espresso with an angled brush as an eyeliner (just wet the brush and apply as if you would with the brush) and apply the highlight in the inner tear ducts to brighten the eyes.
Or you could simply put one/two shades on the lids and be done with it.
To transform into a more darker look, apply cocoa and with espresso, darken the eyes for a smokey look.
Apply caprice as a bronze highlighter or as a blush.


I also found it useful to use cocoa for contouring the face too.
To be honest, I personally think the blush/cocoa is the only reason this set is not fail.
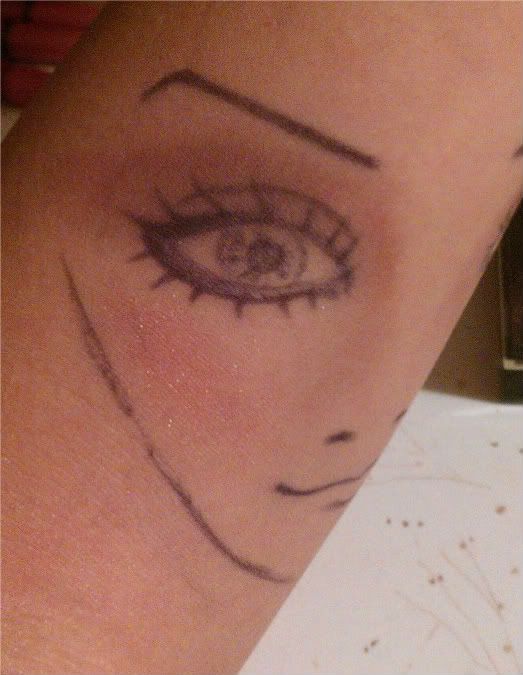
Contured and put 2/3 of the inner lids with cocoa then put espresso at the end and blended as a V shape, used caprice as bronze/blush, used spun silk as highlight under brow bone and tear duct. Did not use anything to prep before eyeshadow. Went on directly to skin.
However, I must mention, the eyeshadows are not rich.
The colors apply very lightly and do not stick to your eyelids.
I personally find myself trying to find a way to moisturize my lids and just pat on the colors and blend from there if I want it to last a long time and to show the colors.

Otherwise, not too bad a set.

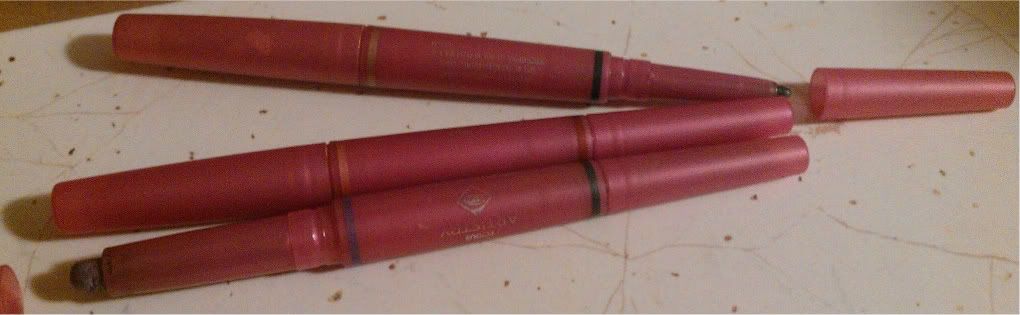
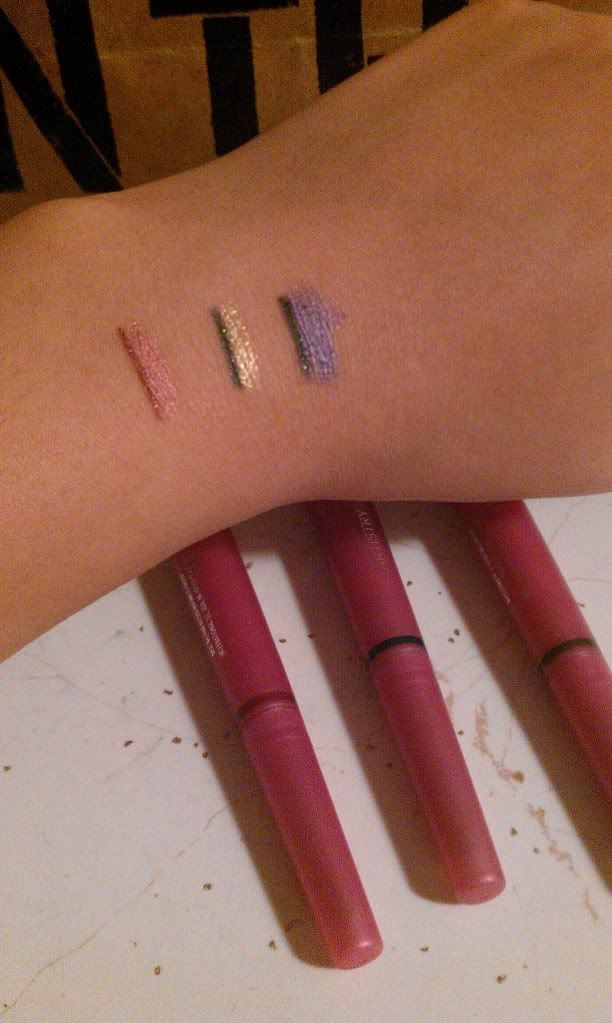
Artistry Effortless Eye Duo Stick
What it is: Double ended stick with eyeliner and creme shadow
Bunneh's Rating:

Pros:
 Retractable eyeliner and shadow as the norm
Cute and pink
Glides on easy

Cons:
Eyeshadow creme stick is very greasy
The product will crease
Does not feel good on your skin
Colors did not really please me
Not easy to smudge and spread around
Not long lasting


I was going to give this 2
But considering the price for this piece of ____, I decided not to.
It is definitely not the best eyeliner/eyeshadow cream duo I have seen.
First thing I noticed was how heavy the eyeshadow cream stick was.
I must say, first thing I noticed was how easy it was to glide on the eyeshadow.
But I can definitely feel the eyeshadow when I had it on...
I put it near my crease and it just creased after a few minutes.
DUDE, it was terrible...
You know when your makeup creases and you just want to hide...
It was just like that...
Its greasy, and if you know you're gonna sweat, you're gonna see it disappear off your eyes.

However, the one reason I was tempted to give it 2 ♥ was the eyeliner.
I did love how it was very nice in color and it glided on.
Very precise lines, the only part of the stick I could rave about.
Only issue I had personally is that it broke very easily.
I was surprised that the entire end just, came off on my lid.

But it is not worth the price it came as, so it is only 1 ♥ for me.

 Artistry Eye Define (Noir)
What it is: Mechanical eyeliner
Bunneh's Rating:

Pros:
Lines my eyes very nicely
Retractable end
Other end of the eyeliner has a smudge end if you want to.. smudge? :P
Fairly long lasting
Does not break easily
Can make lines thick or thin

Cons:
Slightly greasy
Smudges easily (though it can be a pro too depending on the makeup you want)
Liner is kind of on the thicker side, can't make precise thin lines


First off, let me say this.
I have used this eyeliner since it first came out and I have never stopped using it.
I use it for all my makeup, if it's for every day school or for an elegant ballroom competition.
It is very efficient and easy to use.
Just twist it and the eyeliner is there.
I have never, not ever once, broke the eyeliner.
It's not stiff, and it is extremely comfortable on the eyes.
I feel like a painter for the face whenever I use this eyeliner.
Yes, it does have its flaws with how it can be slightly greasy, or smudges easily.
But this is an amazing eyeliner and other eyeliners have similar issues anyways.
You can also smudge it slightly and use that as a shadow for a darker look.
There are so many possibilities....

I tend to use this to wing my eyes.
I must say this, it is not a thin ended eyeliner.
It is on the thicker side, but you can achieve thinner looks if you only do one line.
I put on my eyeliner thick though, so yeah.

This is the major eyeliner I use for clients, and they simply love it.
I recommend this for practically anybody.
Seriously, I love it, minus the flaws.
In my opinion, the best product Artistry has created.

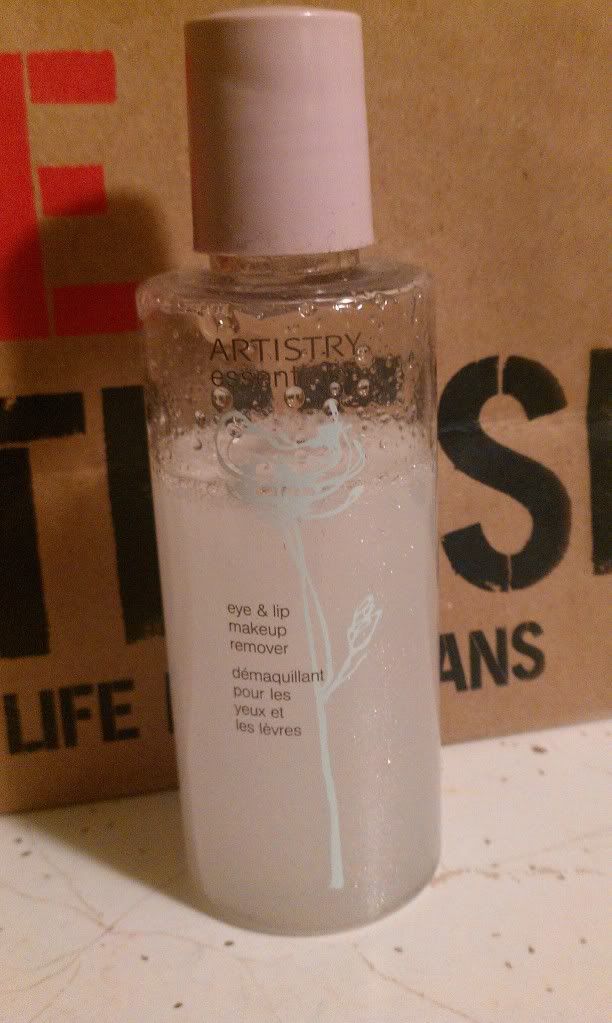
Artistry Essentials Eye & Lip Makeup Remover
What it is: Liquid makeup remover
Bunneh's Rating:

Pros:
It works.
Easy on the eyes
Gentle
Little goes a long way

Cons:
Oily


Let me just state this clearly, I am not a fan of oil based make-up removers.
With that, here is the review!

This is the makeup remover I use whenever I take off makeup with my contacts in.
It is very gentle on the eyes. 
I must say this though.
It is an oil based make-up remover and it is just awkward if you don't wash it off.
(Ex. screwed up eyeliner so you take a q-tip and clean up the edge and don't wash your face after obviously)
I personally prefer this make-up remover at the end of the day.
That way, I can just wash off everything.
If it was not for the oily part, I would give this a definite ♥, but because of the product being on the oily side, I give this a
(Either you love oily make-up removers.. or you don't)
Definitely one of the gentlest eye makeup removers I have ever used. 


I have more products from Artistry, but these were the most common.
I have more products coming in that I am excited about.
Will write more reviews for Artistry in the future!

-hugs and smiles-
Bunneh

Monday, May 2, 2011

Bunneh ♥ 24-30 April 2011

Bunneh had an interesting week ^-^

Decided to cut off my hair unexpectedly and now here are the results!

Took this on my way to school ◦ ᴈ◦
 Everyone was very shocked at the new hair :)

Here is a picture of how I looked prior to cutting and dyeing! 
Yes, Bunneh is a friend of Chickeh's
 Was only going to cut in side swept bangs.
^-^ But instead did across instead
To get the rough look, just took some scissors and cut in angles :)
Unfortunately could not find my hair razors anywhere T__T
>_< Had to improvise with my scissors to even out the ends. 
Should had taken pictures as I was cutting, but was too focused to take pictures.
I will the next time I cut,
I promise!

Ordered a few new products from Artistry.
Been testing Artistry for a few months now, not too bad.
Though a slight warning, do not use the Artistry toner.....
Face had this slight burning like, sensation.
My skin is not the sensitive type.
Shocked me how my skin felt after using it.
It felt quite...
Pulling on my skin, had this awkward sensation that was not quite burning...
Talked to several others, many had the same reactions.
I quit using it.

 Must... remember... to... memorize... Romeo and Juliet...
Yes...
Bunneh is now Friar Lawrence!
 Yes yes...
Saint Francis, be my speed, how oft tonight... have my old feet stumbled at graves..
Who's there!
o_o I did say I must memorize lines did I not?

 Been sick all week long T__T
Bundled up right now as I type this in a winter jacket and scarf.
Wore them when I was on Skype with my boyfriend.
He laughed so much ~_~ </3

Easter was a funny day.
No Easter egg hunting for Bunneh this year! Q_Q
But got the cutest cupcake for Easter this year!
I'd upload it but currently sending photo's from my phone is blocked...
Oops?

Bunneh tends to sleep in class a lot....
Need to work on grades tehehe.... ◦ __◦

Time for Bunneh to sleep now :O...
Goodnight!

-hugs and smiles-
Bunneh

Product Reviews: Palty Hair Dye and Manic Panic N.Y.C. Flash Lightning 30

Hello! 
Thought I should start this blog off with a start with....
- drum rolls -

Two reviews!
I'll be reviewing the two following products:

  • Tish & Snooky's MANIC PANIC N.Y.C. Flash Lightning 30 Volume Cream Developer
  • Dariya Palty Hair Dye in Caramel Brown


So...
Let us get started! (◦ ᴈ◦)ᴝ ~~ ♥!!


MANIC PANIC Review
Bunneh's Rating: ♥♥

Pros:
It... "works?"
When the product was on my head, did not burn

Cons:
Smell was absolutely terrible (I swear I thought I lost some brain cells..)
There was not that much of the product 
(and I have shortish medium length hair)
Hair did not lighten equally along with other parts
After washing hair was not silky and fell flat
Did not lighten fast enough


Before - Natural Light
- Top


- Side


Before - Light from my room
- Top


-Side


After (Wet hair)
- Top/Front


- Side


Inside the box, you get......
1 mixing tub
1 package of the actual bleach powder
1 brush (it was okay)
1 bottle of the developer 
1 shower cap
pair of gloves
instructions


Here's how I used it! ♥

I did a skin test with it prior to using it just in case.
Seemed alright, so I went ahead a day later :3

I opened the mixing tub to find the small package of the actual bleach powder. 
Once I got that opened, I slowly dumped it all into the mixing tub. 
(Warning: Do NOT breathe while you put the powder in the tub and even while mixing)


After, I put in the developer.
In the instructions, it said you might not have to use all of it, but I felt that there wasn't enough....
So I dumped it all in there :)

Mix, mix, mix, mix  ♥


Put on those gloves!
Felt like a medical doctor for surgery or something when I put those on Q.Q laaaaawl

I used a combination of spreading the bleach with the brush and using my hands.
Brush to spread it on evenly, hands to spread it out all through my hair.
Put on the shower cap once you're done.

Pink'd out everything, room is a meeess ;)

It took me about 5-10 minutes personally to put it all through my hair.

The instructions read to have it in your hair for 60-90 minutes.
I checked my hair at 50 minutes and freaked out.
The bleach varied in tone EVERYWHERE =__=
At 60 minutes, I rinsed it all out.

My hair after rinsing and drying, was this awkward rough texture.
My hair is typically silky and.... soft.
But it made my hair feel like everything was striped off of it.
I know yes, that is what bleach does.
But it felt like it killed my hair more than other bleaches I have used......
My boyfriend literally was like "Nooo you have American hair now"
Which is aka Barbie hair xD
It was so flat.
I am very glad I have strong hair that can handle strong dyes.
My bangs in the front were this awful texture, I honestly have no words for how it felt.
I do not believe this is a good product if you have weak hair.

Overall, I think the product was okay.
I'd recommend it mostly for just highlighting or if you want to lighten certain parts only.
Certainly do not recommend it for the entire head.
It's an okay bleach over all, and I do recommend it to those who want to highlight.
I do wish to say this though.
I absolutely LOVE the effect I got after I dyed it with Palty, it gave me many variations of color.
So if you wish to have variations of hair, I'd most likely recommend you to use this product to highlight various parts of your hair and then dye over it.
You'll see many colors then :)


Palty Hair Dye Review
Bunneh's Rating: ♥♥♥

Pros:
The color was very lovely :)
Over time it changes in colors and variations
Looks great in general ^-^
The conditioner that comes was pretty nice, wish they gave more though =_=
The nozzle that comes with the dye to spread on the dye is fairly nice

Cons:
Barely enough to cover your entire head
(I'd recommend people with long hair to buy 2 boxes at least.... you'll definitely need 2)
You have to have the dye in your hair for a long time if you want to see color changes


Before - (Wet hair)

- Top/Front


- Side


After (This was actually a few days after dyeing)


Inside the box you get.......
1 bottle of the developer (?)
1 tube with the actual color part of the dye
1 lid/top/whatever you want to call it that spreads the dye into your hair
1 packet of conditioner
pair of gloves
Instructions


Here's how I used it! ♥

I skipped the skin test for this one since I have previous used Palty before in the past.
However, I recommend all new users to Palty to do a skin test prior to dyeing.
Warning: Palty has bleach in the dye itself, which is why it is permanent.
If you're looking for a semi-permanent dye, Palty is not for you.

I started 2-4 hours after bleaching my hair with Palty ^-^
All the instructions are in Japanese, but it's quite simple without them.
Pretty much, put the tube of the dye (labeled 1) into the bottle (labeled 2)
Shake it up real well! ^-^
I normally shake for a few minutes.
After a good amount of shaking, just let it sit for a little bit until the color changes.
It'll be this weird greyish like tone?
It's an off tone anyways :)

Take off the cap and replace with the other end that you use to spread with your hair.
Now all you have to do is section off hair, and squeeze the bottle and it spreads evenly!
I personally though still love to use a combination of hands too so yah.
Your choice however of how you do it.
I've previously done different methods (hands, brush, etc)

It took me about 15 minutes to spread it through my entire head.
You're supposed to have it in your hair for only 20 minutes or so.
I do not recommend only using it for 20 minutes.
20 minutes is very minimal or very little color.
I'd recommend anywhere from 30-60 minutes at the least.
I personally kept it in my hair for a good 90 minutes.
I had been planning on 70 but.... I was on skype with my boyfriend ;)

After the time was over for me, I just simply rinsed it all out of my hair.
I used the small packet of the conditioner then just used my normal hair conditioner to really set it in.
Believe me, the small packet is amazing with making your hair soft again.
Smells nice too, just...
Really little of it T__T

What I absolutely love and rave about this product is how this dye actually WORKS.
I have Asian hair, thus, my hair does not typically work on American hair dyes.
Palty actually dyes my hair which I just love about it :)
The color changes through time I should mention.
My hair is currently darkening to a brown instead of the blonde I was from the first week.
It's very nice ^-^
Plus, Palty tends to with my hair at least, have some highlights in it.
So it isn't just a solid color, at least when I do it, bleach or no bleach.

I however do not like how there is so very little of the product.
I used up the entire bottle and wish I had more.
Even for my medium length hair at the time, it was just enough to cover my head.
Anybody with medium-long or longer hair should definitely buy at least 2 boxes.

The price is pretty high for the amount they give if you buy online.
Additionally, your hair will most likely not turn out the same color as the model on the box.
The only way to achieve that color would be to bleach then dye.
If you have dark hair and you use this, it'll most likely just give you a dark brown effect.

But I trust this product over any American dye for my hair.
I definitely recommend this product.
I trust it and I know it will change my color, correct like the box or not.
^-^ Yup!

Overall, great product.
Expensive if you're on a low budget but if you can afford it, do buy it.
It's definitely worth it.
You could even just dye ever other month, and the color would still look gorgeous.


Hope you enjoyed these two reviews,
and I hope they helped you ^ 3^

Hugs and smiles,
- Bunneh ♥