Showing posts with label How To's ♥. Show all posts

Tuesday, June 28, 2011

How To's: T-shirt Reconstruction (1) 3 Cut V's

Left is the new one, right is old
Well, since you guys know I love to cut things up all the time, obviously, I got bored today with a pair of scissors and a shirt.
Oh by the way, small mini rant about my conditioner, they changed it =_=
My old favorite scent from Herbal Essences was Acai Berry and Satin.
It's now Moroccan Rose and Passion Fruit...
WTF!

Moving forward... ahem.
Today, I was just about to take a shower and then.. BAM!
Saw the t-shirt that my friend gave me a while back and thought, eh.
I can do something to it.
I have a habit of wearing loose t-shirts because they're so comfortable.
You can probably notice that a ton of my shirts are loose on the shoulders in my pictures I take.
But I thought I should show you guys some ways I reconstruct my own shirts!
I'll do a few of these this summer since hey, t-shirts = summer right? ^-^

So, let's start cutting things up!
(Disclaimer: If you ruin a shirt, I hold no liability or responsibility to the damage on that shirt.... seriously, don't sue me for ruining your own shirt please....)

3 Cut V's
What it is: Literally you'll be cutting 3 V's into the shirt
What Bunneh likes: Can have the sleeves going off or on or whatever!

Materials Needed:
t-shirt you think needs a make-over
Scissors
a brain

Grab your t-shirt!
I personally picked out this one as you can see right here
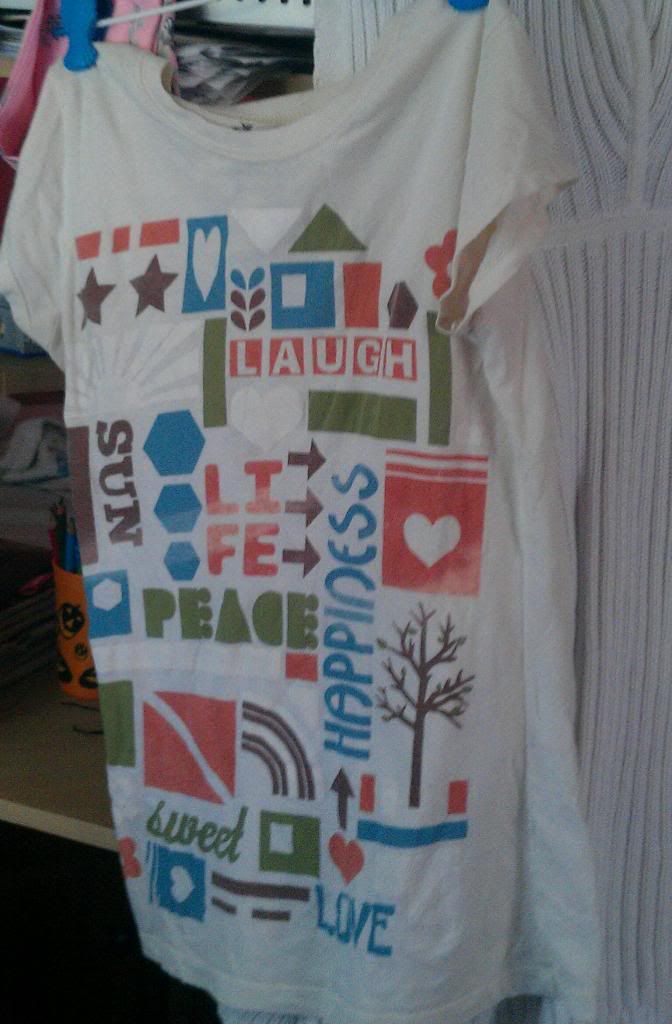
Pro halloween cup for colored pencils I know right? >_<
First step is lay it on a flat surface and make sure the seams are even and meet up.
Cut off the neckline if your t-shirt has one (most likely)
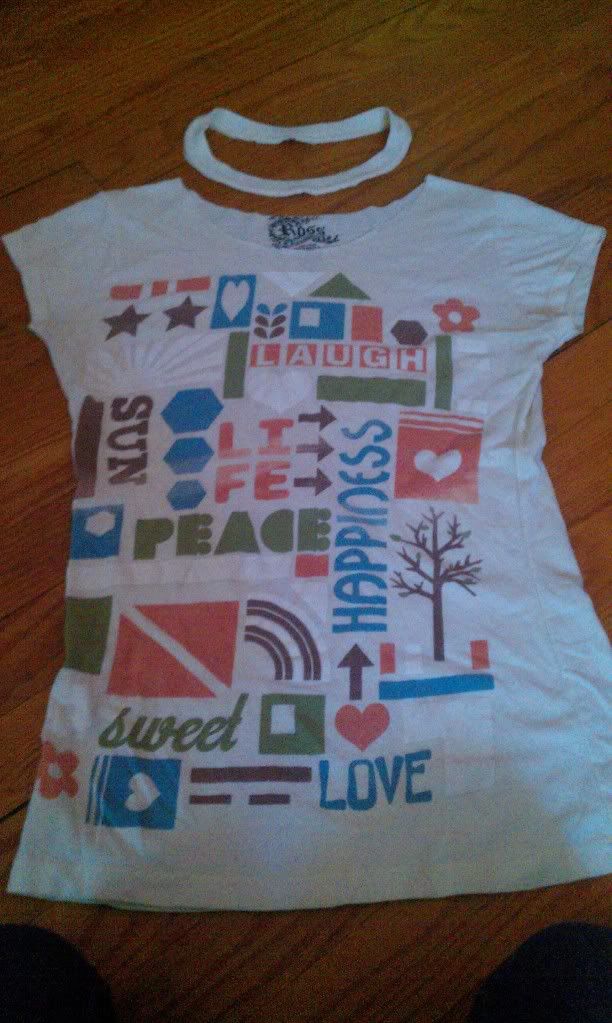
Oops. I didn't even out the seams, haha my bad. Looks like a halo though?
This is literally what the end product is going to look like, and yes, the V's will have blunt ends
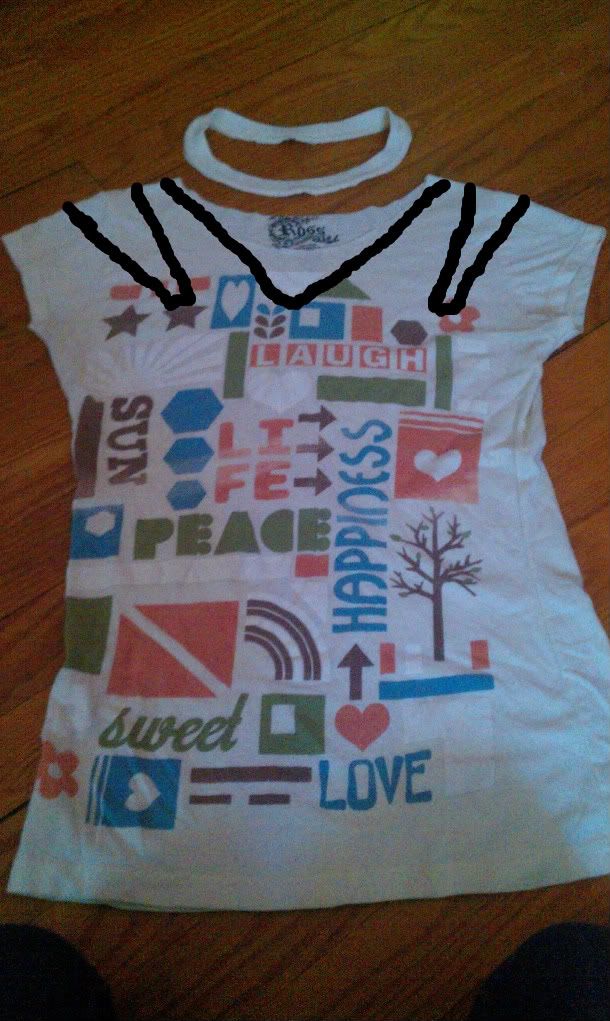
Ouch... I suck at drawing onto pictures with my track pad....
My shirt had this triangle already so I used it as a base for my V-neck. 
I cut out triangle slits on both sides. 
Stretch the new cuts out.
(As in, pull on the cuts you made so the fabric just.. yeah.)
What you should see is this.
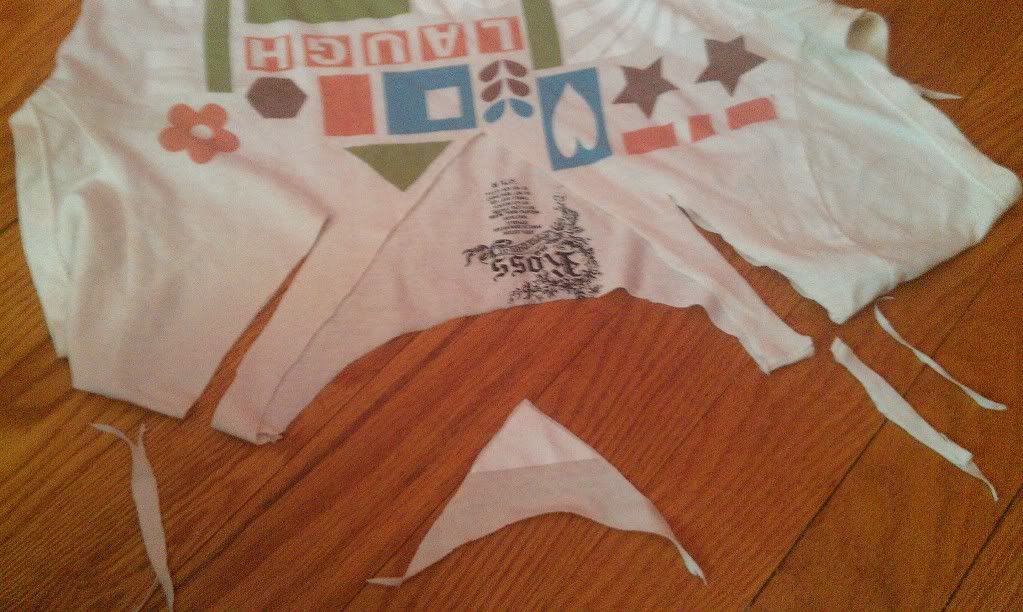
You can see all the pieces I cut out so far
At this point, just try it on, use a pencil to mark how low you want to go, or where you want the slits.
Adjust accordingly to your body shape.
For mine, I cut further to the sleeves, I thinned out the small strips so it was like a halter, sort of.
I had to restitch the seams at the strips though since the thread was weak or something.
Keep stretching out the new cuts in the shirt.
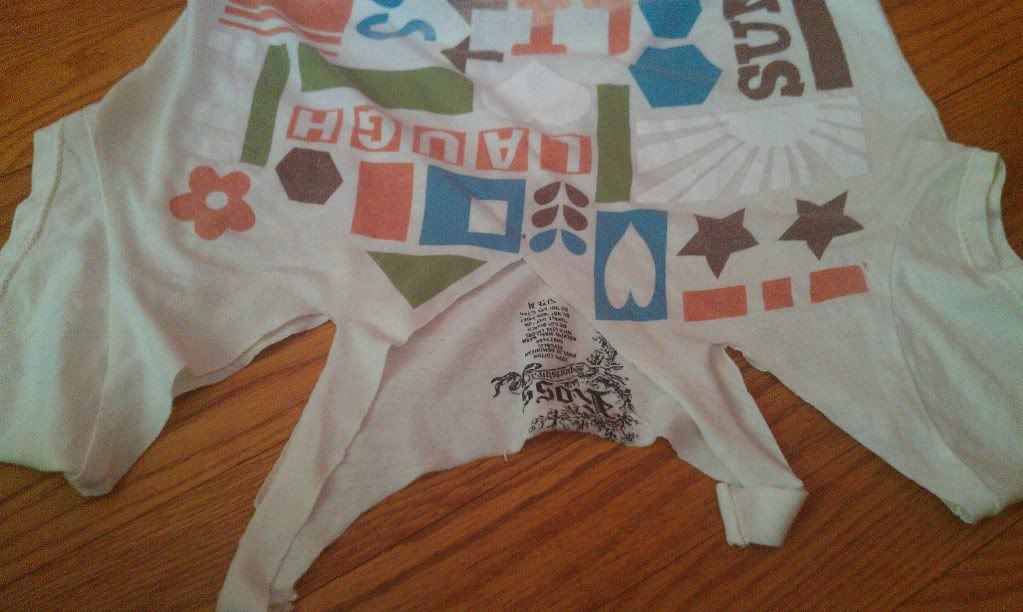
Biggest tip for shirt reconstructing is just keep stretching those lines out.
So!
Here are pictures of the final product after you do all that!

Close up and heck yeah, no makeup! 
Mirror shot, sorry for the white on the mirror, it's paint splatters from when I painted =_=
Any tips on getting paint off mirrors? Haha.
Leaning against the wall type of pic... 'cause you know, everyone has one.
Any questions, feel free to ask!
E-mail or comment as per usual!

-hugs and smiles-
Bunneh 

Friday, June 24, 2011

How To's: Shrinky Dink Jewelry!

Hey guys!
Today, with fellow blogger, El Chica, we made shrinky dink jewelry!
This post is our blog collaboration! ^-^
(Expect more of that with her and other bloggers!)
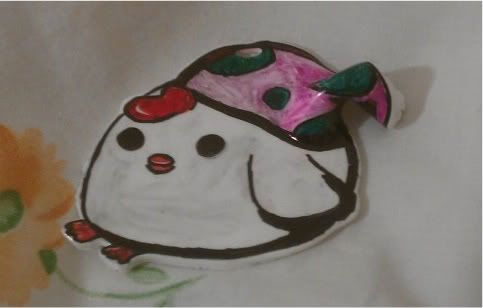
She made 2NE1 Earrings (click here for her DIY on her blog!) as I made a chickeh necklace.
This post will mainly feature how I made the necklace (and the fails that happened..)
Time to start!
-hugs and smiles-
Bunneh 
P.S. Most of the pictures are at the end and the tips are at the end too!

How To: Shrinky Dink Jewelry

Note: Messed up on mine as you can see.... T__T

What it is: Pieces of Jewelry made out of shrinky dink paper
What Bunneh likes: You can design it to your hearts content! It's also very cheap to do this (it costed personally 92 cents per piece of paper, including tax)If you make a mistake, cheap mistake to make!
Materials Needed:
Shrinky dink paper
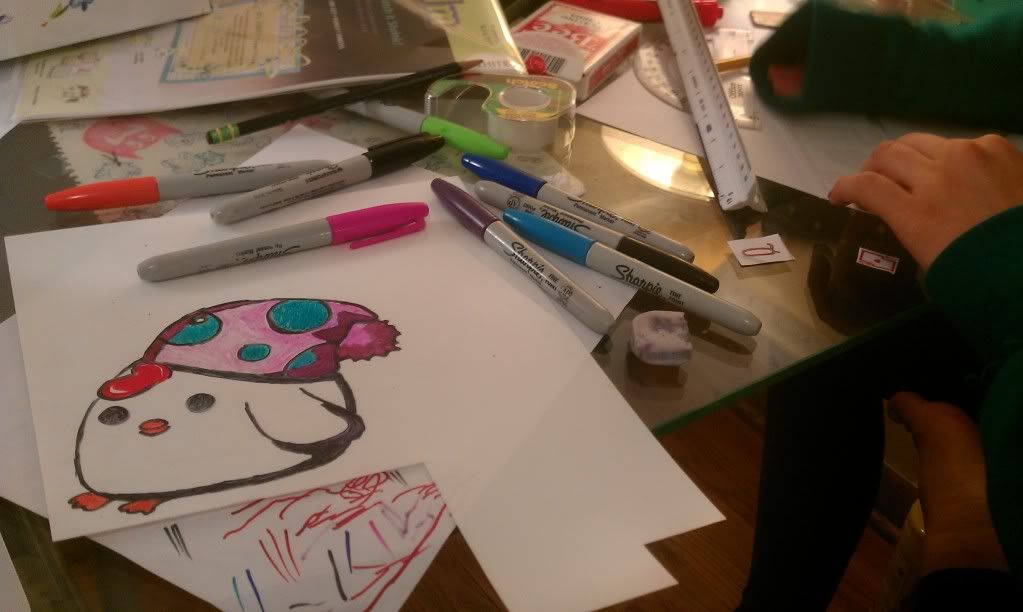
Sharpies
Scissors
Pencils and erasers
Paper

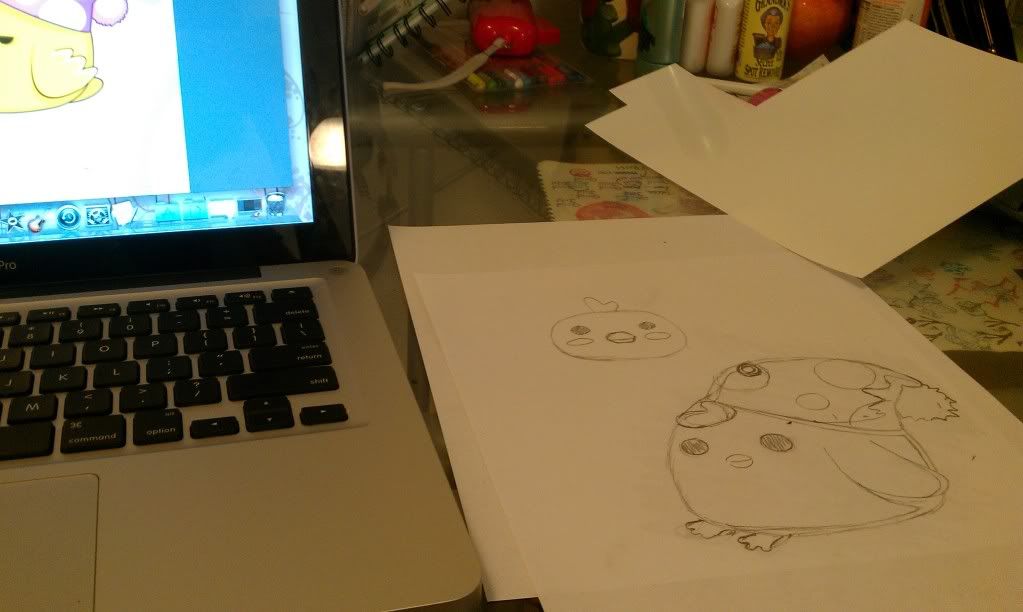
Reference picture on my laptop and drawing!
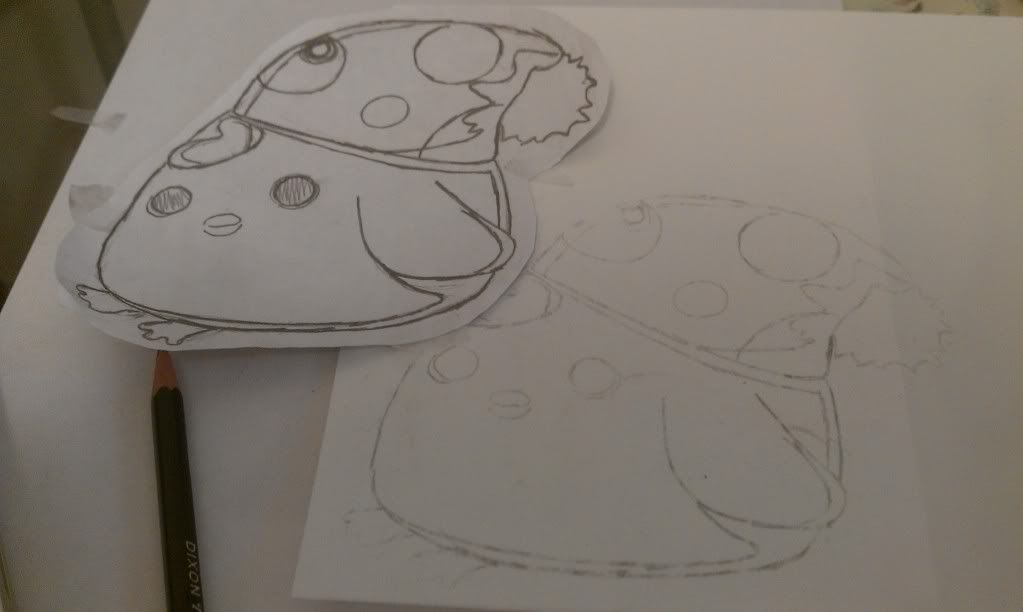
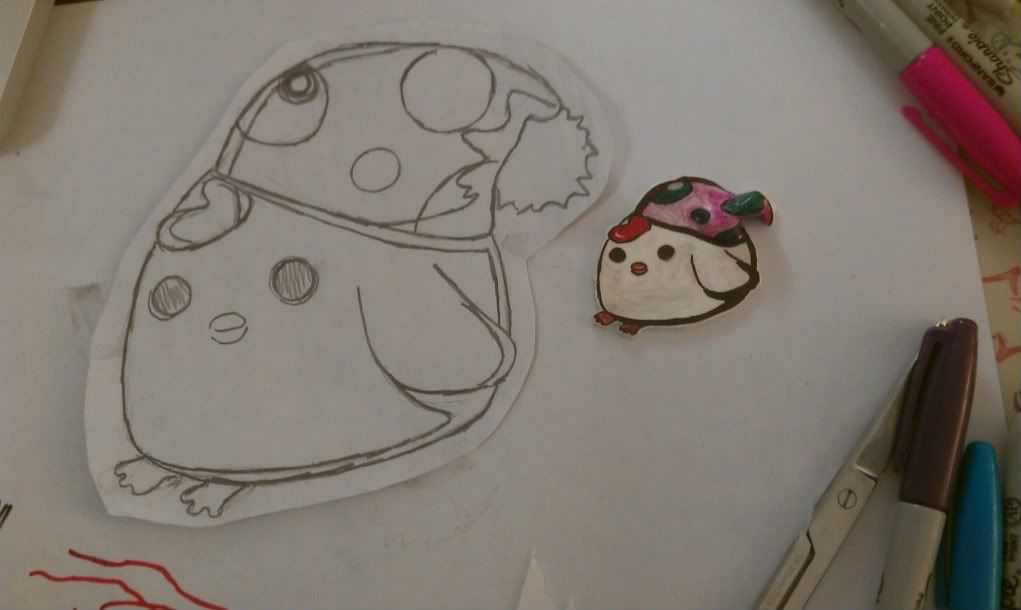
First thing I did was draw out a design onto a piece of paper.
I went on Google and looked up pictures of cartoon chickens for references.
I couldn't find a picture of a chickeh chickeh, so I improvised.
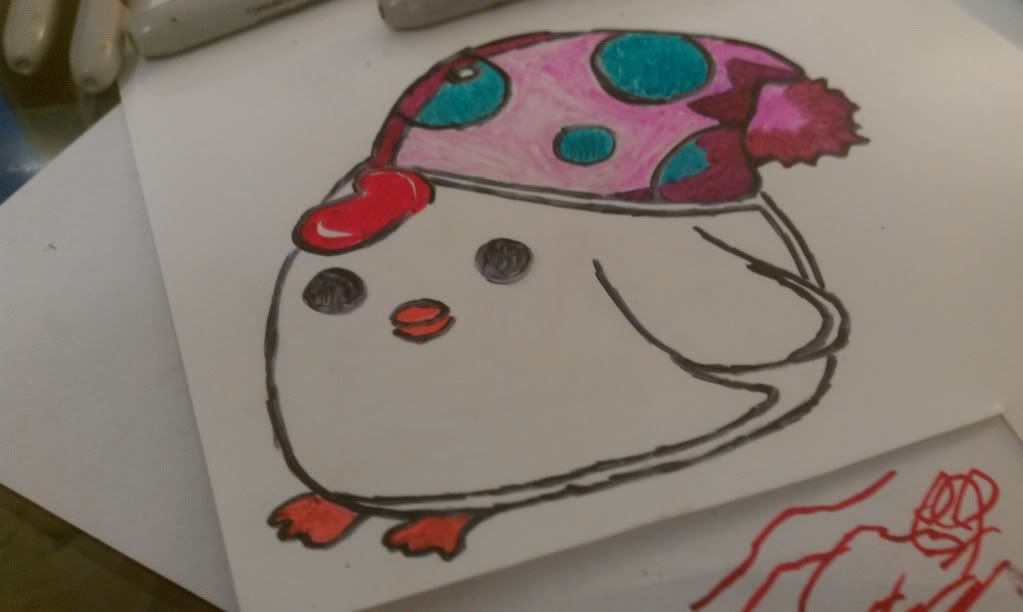
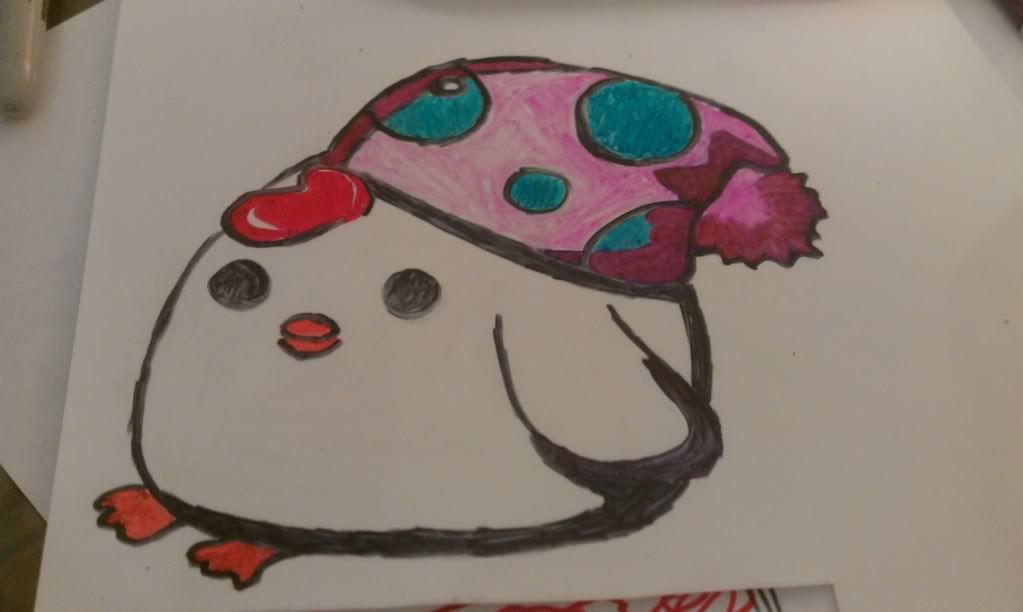
I came up with a cute chickeh with a hat.

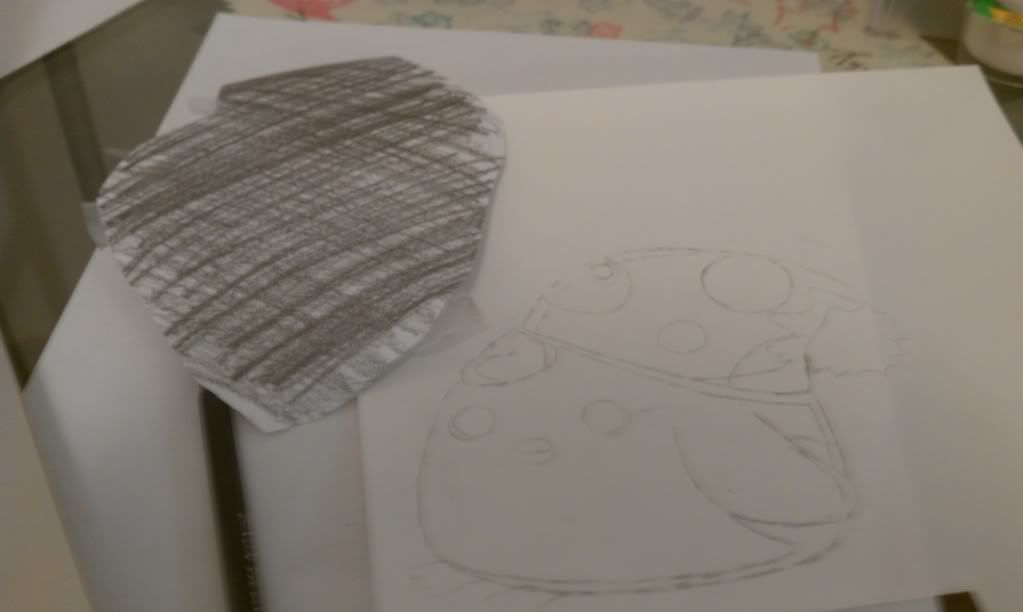
Once I finished the drawing, I shaded the entire back of the paper I drew with with my pencil so I could transfer it over to my shrinky dink paper.

Transferred
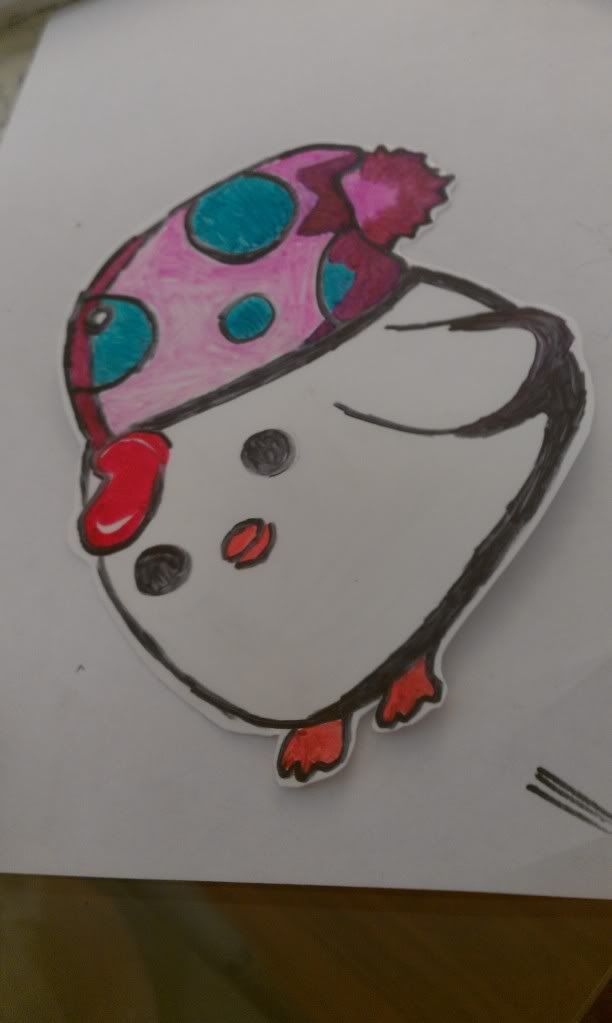
After it was transferred, I just outlined the picture and colored it!
I mixed shades of sharpie to get the colors for my chickeh's hat!
I actually recommend finding dead sharpies around the house so you can mix the colors!
If you mess up, use an expo marker and a q-tip to erase the mistakes!
(Tip from my friend El Chica)
Wait for the sharpie to dry on the shrinky dink.
In my case, I didn't sand it before, so I could only use sharpie.
If you want to use color pencils, sand the paper before you color!
Cut out around the shrinky dink, don't cut right at the line.
If you do, you risk loosing the shape of the design, or change it completely...

Pre-heat the oven anywhere from 300° to 350°.
Actually, this is where we made a mistake for us.
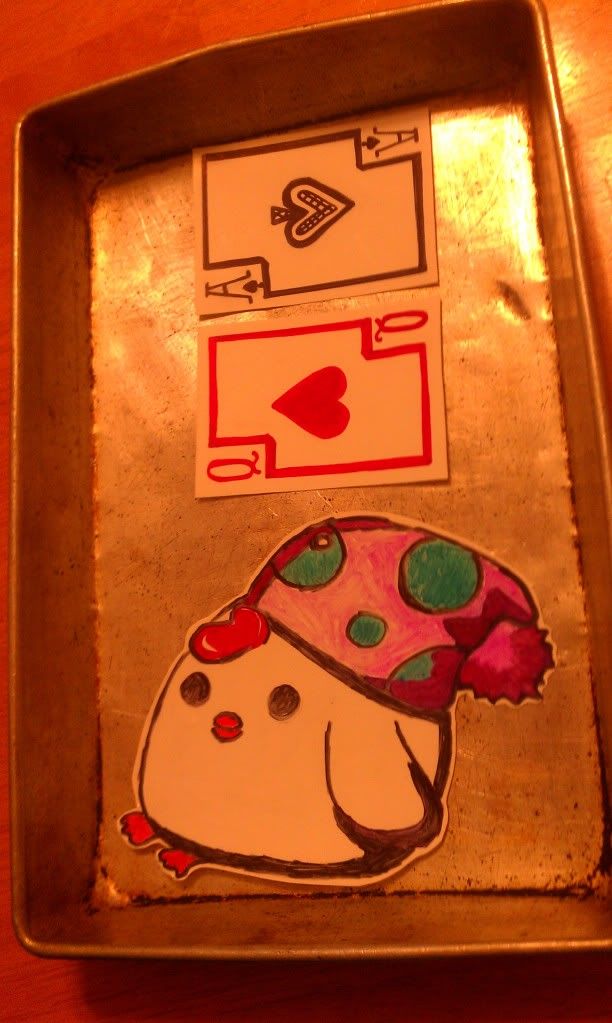
We were supposed to separate the shrinky dink from the tray by putting down a teflon sheet or a piece of parchment paper instead of putting it directly on the metal.
So definitely put a piece of teflon or parchment paper under the shrinky dink.
Another mistake we made (read instructions always.... we're having a sleep over so we didn't really care) was not putting a piece of parchment paper or vellum on top of the jewelry.
By doing that, you prevent the shrinky dink from sticking while it bakes (as you can see later on what happens if you don't...)
Once you do that, put it in the oven for 2-3 minutes.
Wait to remove from the oven until the piece is flat, if it's curled, don't remove it...
Be careful putting the shrinky dinks in the oven and taking it out.
If you hurt yourself, I hold no responsibility over any injuries (seriously.. I don't want to be sued...) you may have gotten.
Please be careful, you're dealing with an oven after all.

With that, you're done!
Transferring to the shrinky dink paper!
Coloring the chickeh!
The desk where El Chica and I were drawing, picture of chickeh the shrinky dink
In the tray... I repeat, DO NOT PUT IT DIRECTLY ON THE TRAY... like we did.
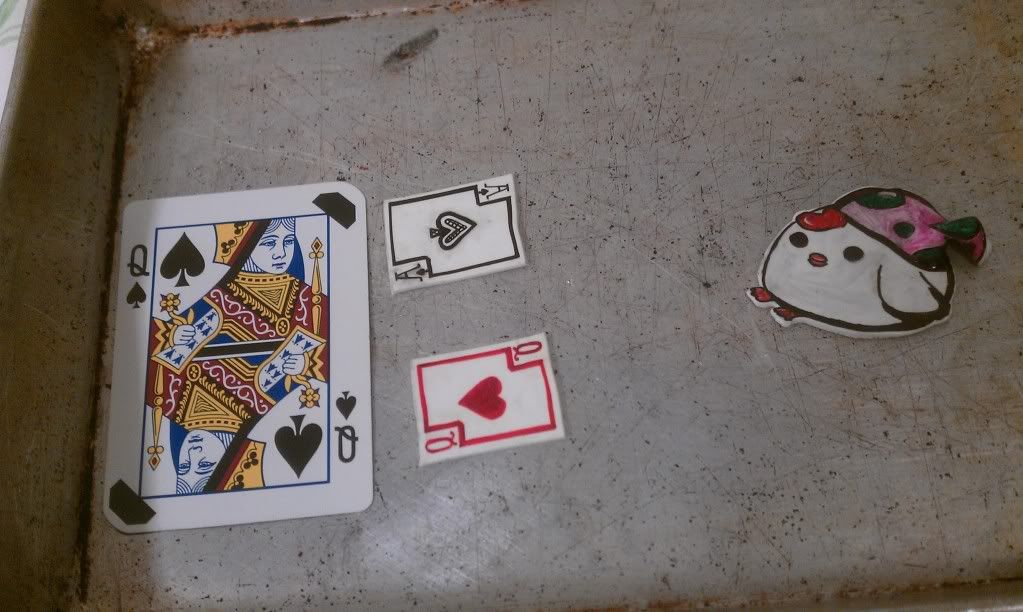
After sizes, El Chica comparing her shrinky dinks to the original size
Comparison to the original size to the shrinky dink.

Tips:
Read the instructions before you do this, they have it all there.
If you're planning on making a charm or a necklace, punch a hole before you put it in the oven.
You can buy printable shrinky dinks if you don't want to design them yourself
Make them really huge, they shrink down really tiny.
If you want it to cool faster, put the pan or baking sheet over cold water (like a bath)
But make sure to not get the shrinky dinks wet.

Thursday, June 23, 2011

365 Day Challenge: Day 27 (Bonus: How to make cellphone charm holes for smartphones)

So.... exhausted...
Sorry, been asleep nearly all day long!
I have to go to this grill out in about half an hour so I have to go run and take a shower right after this post!
I wonder if I'll pass out......
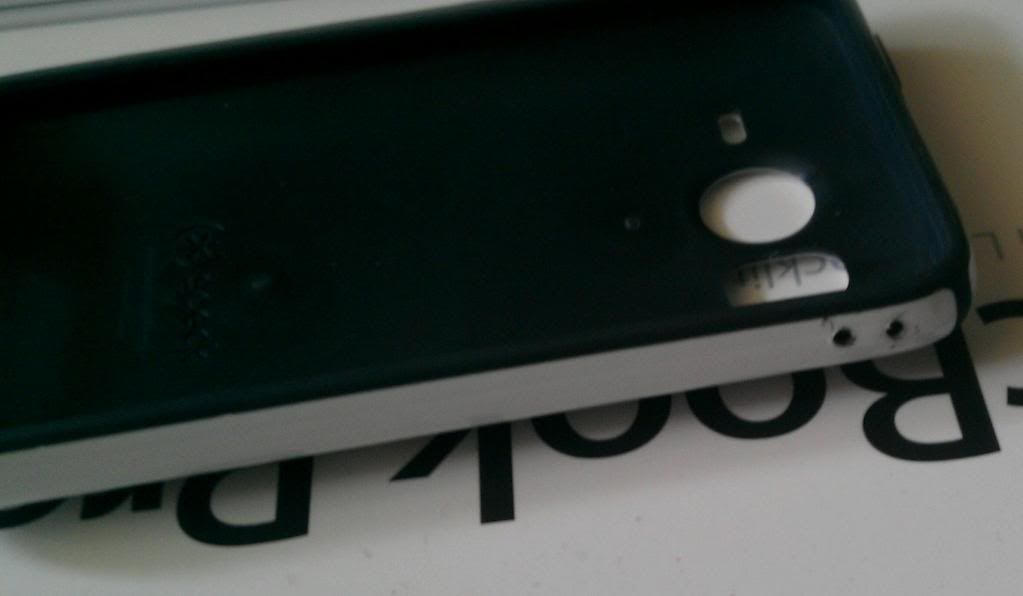
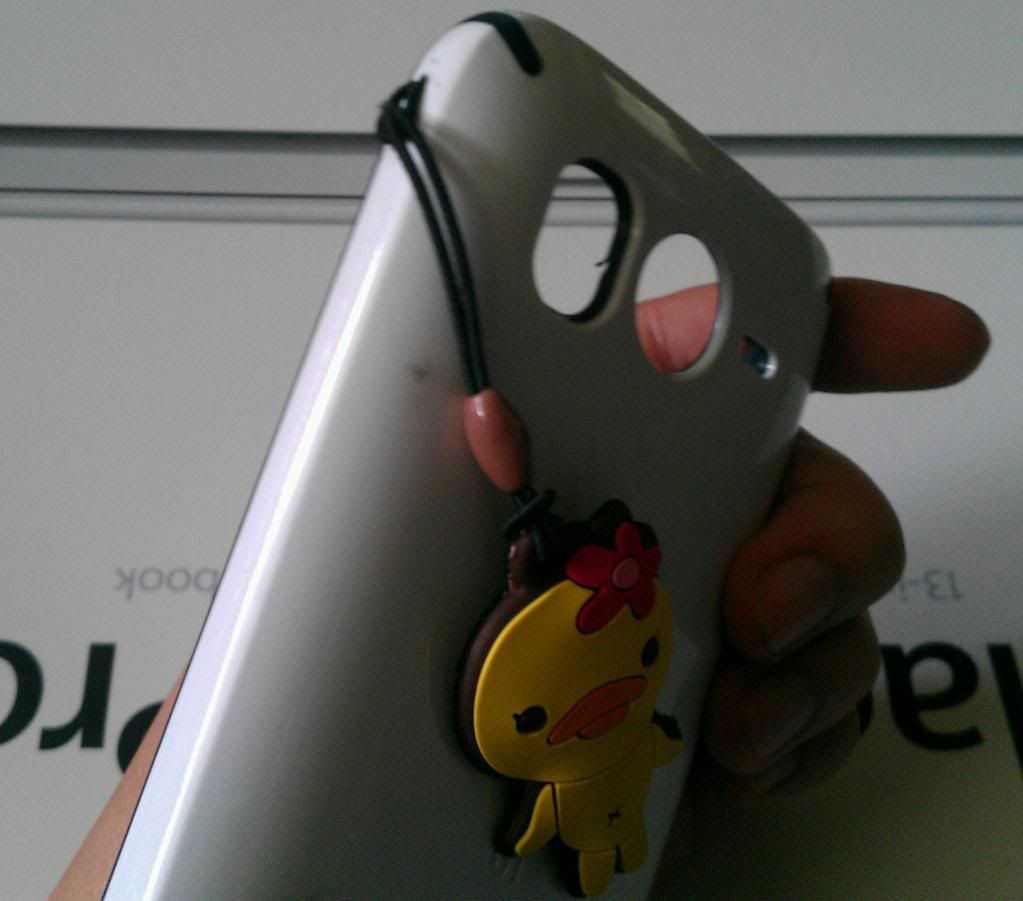
But otherwise, today, I decided to add holes onto my cell phone case!
You see, when I was in Korea in the winter, I picked up all these tiny cute cellphone charms but...
No cellphone charm holes anywhere.
Got my new phone, and it's a smart phone.
No holes in sight either.

So what else can a girl do?
Make them herself! (Or... himself.)
Here is how! ^-^

Cellphone Charm Holes


What it is: Typically a small part on a phone that lets you put on a charm, in this case, putting two actual physical holes onto a cellphone case to do the same
What Bunneh likes: You can customize your phone any way you want!

Materials Needed:
Sharpie
Needles (yes, you'll need more than one)
2 small nails (you know, stuff you hammer things with?)
Jewelry wire (precut with a loop or just a really thin bendable wire)
Candle(s)
Scissors or a sharp tool
Pliers
Matches or a lighter
Hard plastic cell phone case (cannot be soft)


First thing you do is take your cell phone OUT of your cell phone case.
Just a thing, you're actually making the cellphone charm hole on the case, not the phone.
Please don't set your phones on fire..... I hold no responsibility....
Make sure the case is hard and plastic, not a soft material or a squishy one!
That way the holes don't tear, etc.

With a sharpie, mark where you want to make the two holes.
Once you do that, light a candle with either matches or a lighter....
(If you can't use either of them, ask someone else who can to do that for you... if it helps, I had to ask my younger sister to help.... I'm a wimp >___< but better safe than sorry!)
Grab one needle and clamp onto one end with your plier.
I actually personally used an IV needle... just cut off the plastic parts and the tubing... long story....
Put the open end into the fire and wait for it for a few seconds to get hot.
Once it's been there for a few seconds, immediately put the end on one of the dots you made earlier on the case.
Repeatedly do that, twisting the needle into the case over and over until your needle goes through.
You may go through a few needles, I personally went through half a dozen....

Once it's through, take it out, and get one of the nails.
Clamp it with your pliers, and heat up the pointed end in the flame.
Put the heated nail into the hole you just made.
It will literally enlarge the hole, and you'll go like "WTF whoa, am I going to burn this thing?'
Twist it around in there, and leave it in the hole.

Repeat the same process on the other dot you made earlier.
Leave the nails in for 5-10 minutes.
Take them out, reheat them again, and do it once more for another 5 minutes.
By then, the holes should stop closing themselves in.

Scrape off the plastic that grew around the holes.
Now, you're done!
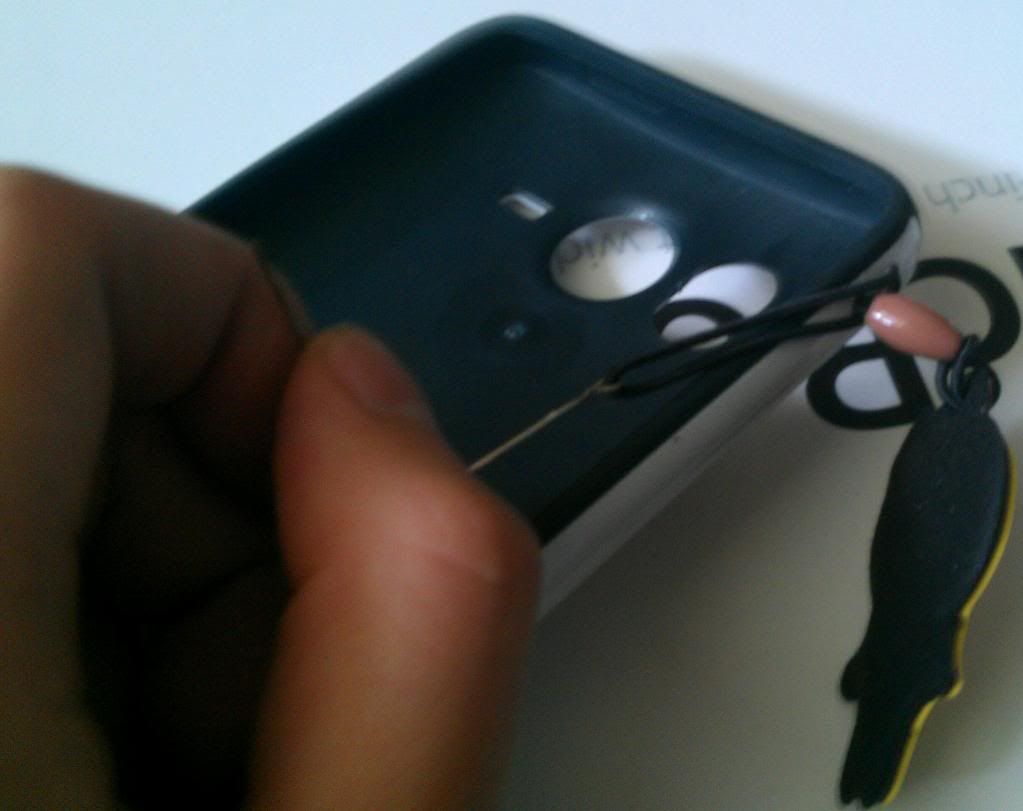
To get a cellphone charm in the hole, just use jewelry wire, open up the loop, put in the cellphone charm, and use it like a needle to get your charm through the holes if it is too hard to do it by hand.
(It saved me time, trust me)
DONE!

Day 27:


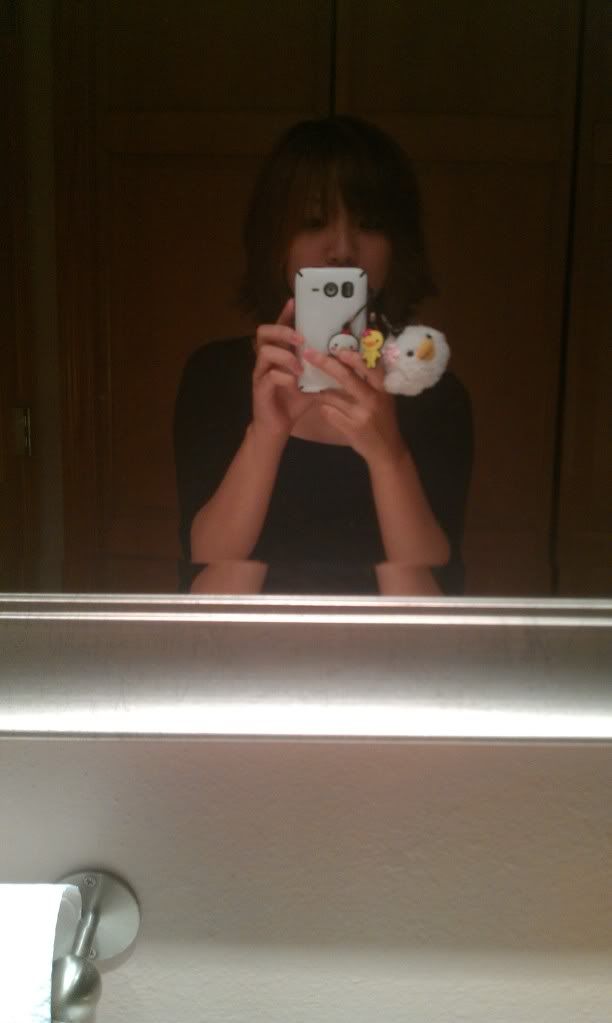
(P.S. I'll take a picture of my phone and upload here, I actually changed the cellphone charms ^-^
I'll add in pictures of the materials I used too
Edit: First picture in this post is the pic now :D)

-hugs and smiles-
Bunneh