Hey guys!
Today, with fellow blogger, El Chica, we made shrinky dink jewelry!
This post is our blog collaboration! ^-^
(Expect more of that with her and other bloggers!)
She made 2NE1 Earrings (click here for her DIY on her blog!) as I made a chickeh necklace.
This post will mainly feature how I made the necklace (and the fails that happened..)
Time to start!
-hugs and smiles-
Bunneh ♥
P.S. Most of the pictures are at the end and the tips are at the end too!
How To: Shrinky Dink Jewelry
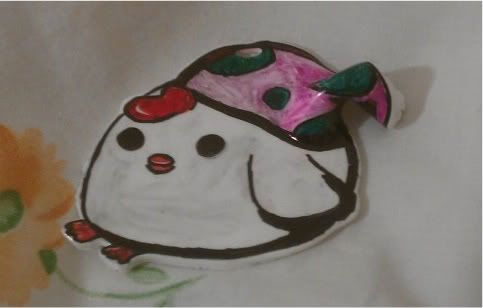 |
| Note: Messed up on mine as you can see.... T__T What it is: Pieces of Jewelry made out of shrinky dink paper What Bunneh likes: You can design it to your hearts content! It's also very cheap to do this (it costed personally 92 cents per piece of paper, including tax)If you make a mistake, cheap mistake to make! |
Materials Needed:
Shrinky dink paper
Sharpies
Scissors
Pencils and erasers
Paper
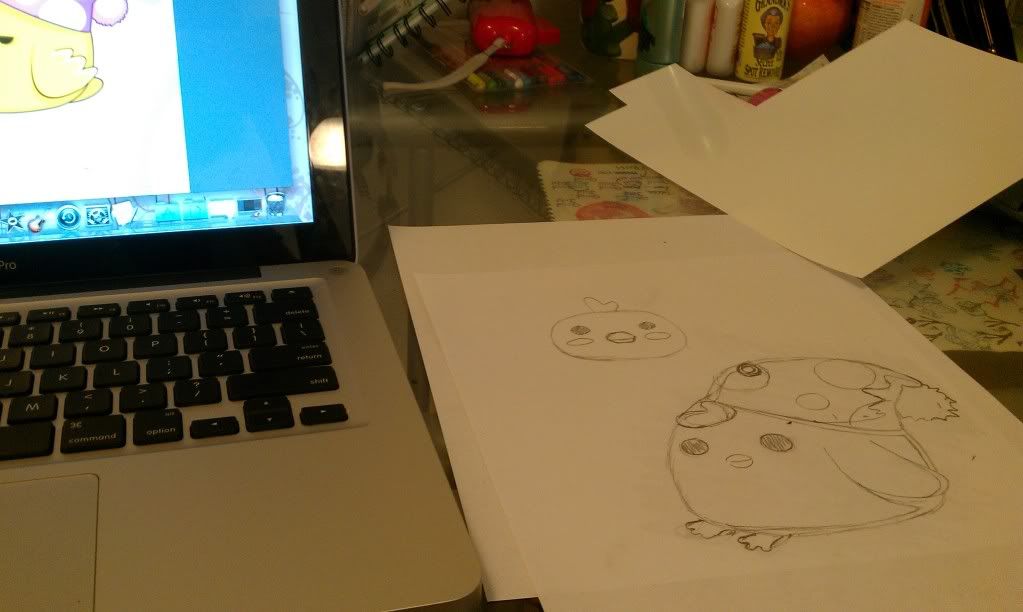 |
| Reference picture on my laptop and drawing! |
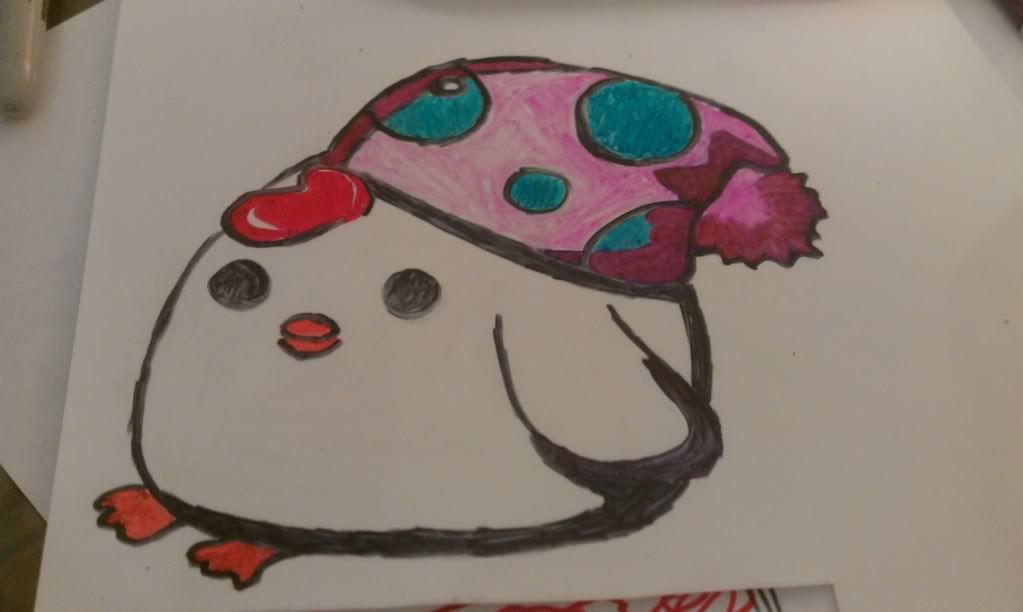
First thing I did was draw out a design onto a piece of paper.
I went on Google and looked up pictures of cartoon chickens for references.
I couldn't find a picture of a chickeh chickeh, so I improvised.
I came up with a cute chickeh with a hat.
Once I finished the drawing, I shaded the entire back of the paper I drew with with my pencil so I could transfer it over to my shrinky dink paper.
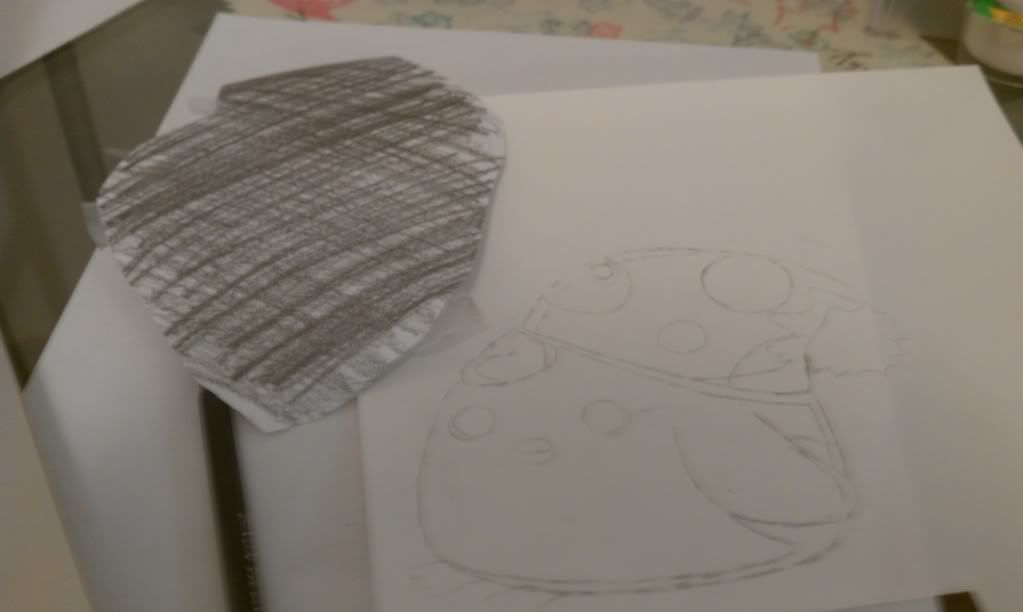 |
| Transferred |
After it was transferred, I just outlined the picture and colored it!
I mixed shades of sharpie to get the colors for my chickeh's hat!
I actually recommend finding dead sharpies around the house so you can mix the colors!
If you mess up, use an expo marker and a q-tip to erase the mistakes!
(Tip from my friend El Chica)
 Wait for the sharpie to dry on the shrinky dink.
In my case, I didn't sand it before, so I could only use sharpie.
If you want to use color pencils, sand the paper before you color!
Cut out around the shrinky dink, don't cut right at the line.
If you do, you risk loosing the shape of the design, or change it completely...
Pre-heat the oven anywhere from 300° to 350°.
Actually, this is where we made a mistake for us.
We were supposed to separate the shrinky dink from the tray by putting down a teflon sheet or a piece of parchment paper instead of putting it directly on the metal.
So definitely put a piece of teflon or parchment paper under the shrinky dink.
Another mistake we made (read instructions always.... we're having a sleep over so we didn't really care) was not putting a piece of parchment paper or vellum on top of the jewelry.
By doing that, you prevent the shrinky dink from sticking while it bakes (as you can see later on what happens if you don't...)
Once you do that, put it in the oven for 2-3 minutes.
Wait to remove from the oven until the piece is flat, if it's curled, don't remove it...
Be careful putting the shrinky dinks in the oven and taking it out.
If you hurt yourself, I hold no responsibility over any injuries (seriously.. I don't want to be sued...) you may have gotten.
Please be careful, you're dealing with an oven after all.
With that, you're done!
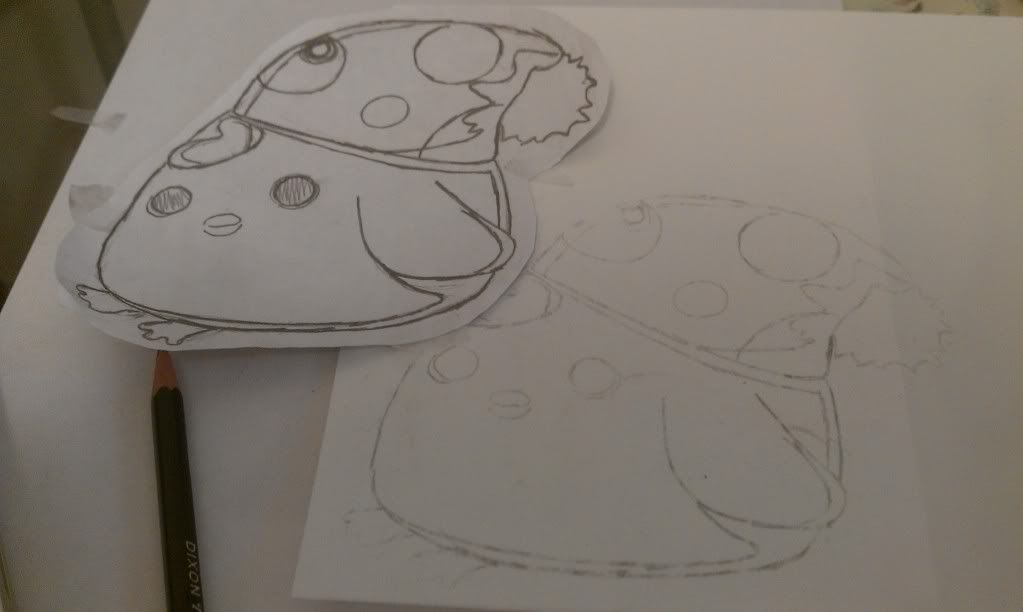 |
| Transferring to the shrinky dink paper! |

 |
| Coloring the chickeh! |
 |
| The desk where El Chica and I were drawing, picture of chickeh the shrinky dink |
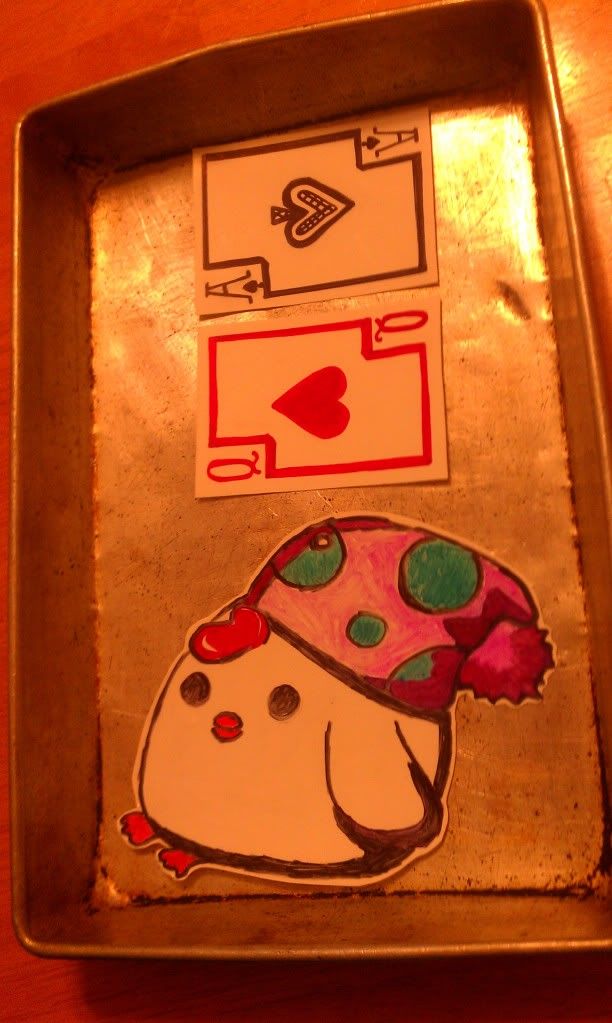 |
| In the tray... I repeat, DO NOT PUT IT DIRECTLY ON THE TRAY... like we did. |
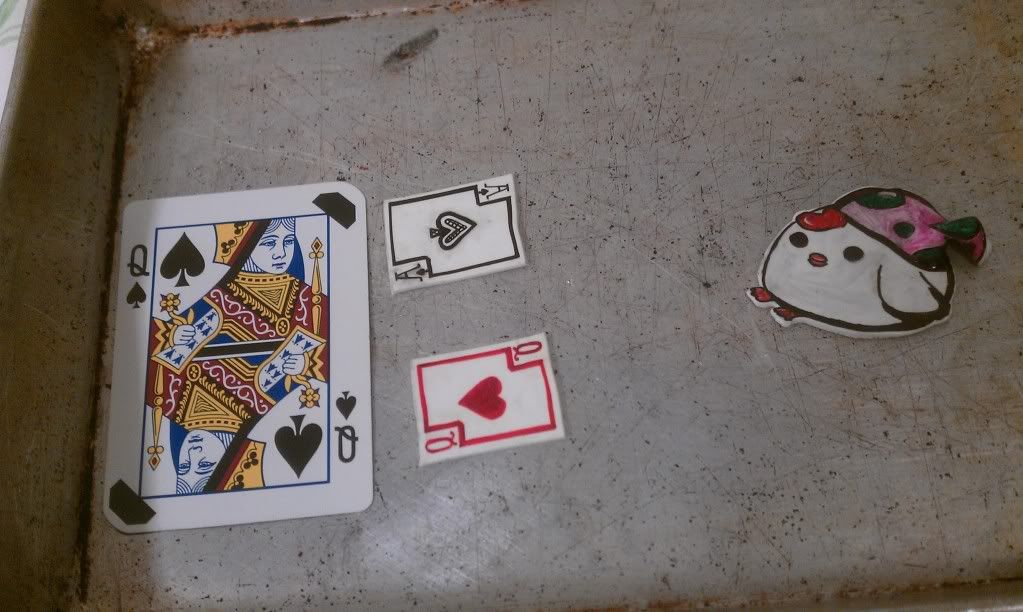 |
| After sizes, El Chica comparing her shrinky dinks to the original size |
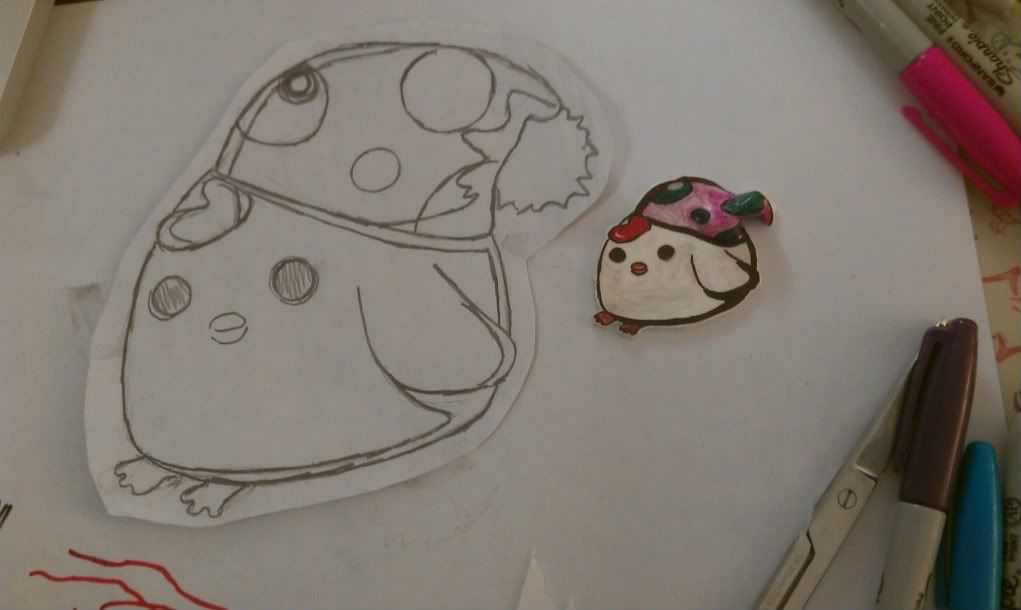 |
| Comparison to the original size to the shrinky dink. |
Tips:
Read the instructions before you do this, they have it all there.
If you're planning on making a charm or a necklace, punch a hole before you put it in the oven.
You can buy printable shrinky dinks if you don't want to design them yourself
Make them really huge, they shrink down really tiny.
If you want it to cool faster, put the pan or baking sheet over cold water (like a bath)
But make sure to not get the shrinky dinks wet.
No comments:
Post a Comment