 |
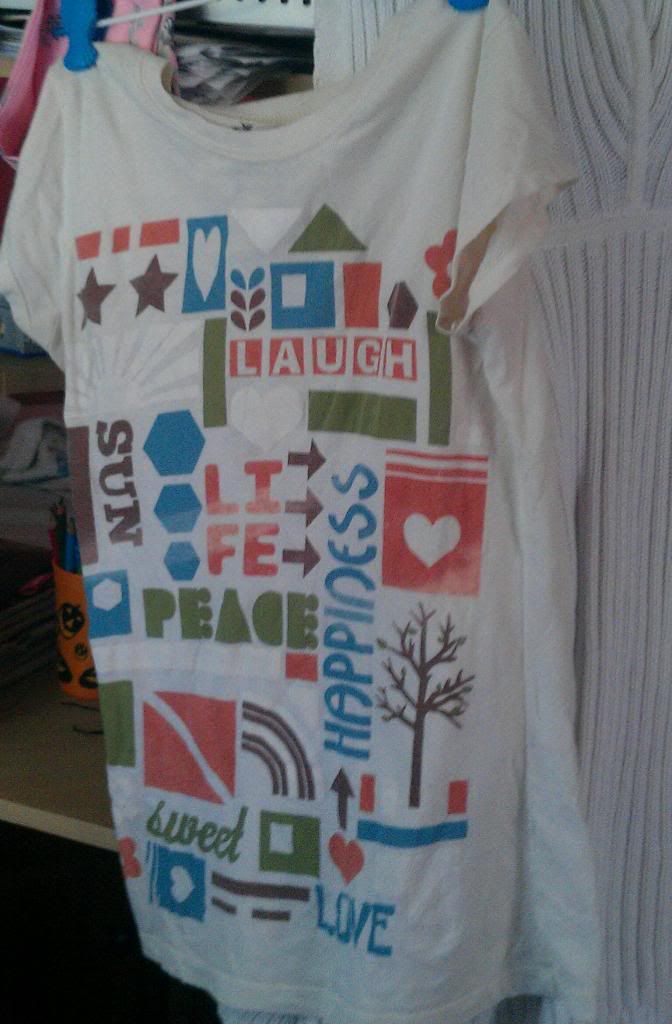
| Left is the new one, right is old |
Well, since you guys know I love to cut things up all the time, obviously, I got bored today with a pair of scissors and a shirt.
Oh by the way, small mini rant about my conditioner, they changed it =_=
My old favorite scent from Herbal Essences was Acai Berry and Satin.
It's now Moroccan Rose and Passion Fruit...
WTF!
Moving forward... ahem.
Today, I was just about to take a shower and then.. BAM!
Saw the t-shirt that my friend gave me a while back and thought, eh.
I can do something to it.
I have a habit of wearing loose t-shirts because they're so comfortable.
You can probably notice that a ton of my shirts are loose on the shoulders in my pictures I take.
But I thought I should show you guys some ways I reconstruct my own shirts!
I'll do a few of these this summer since hey, t-shirts = summer right? ^-^
So, let's start cutting things up!
(Disclaimer: If you ruin a shirt, I hold no liability or responsibility to the damage on that shirt.... seriously, don't sue me for ruining your own shirt please....)
3 Cut V's
What it is: Literally you'll be cutting 3 V's into the shirt
What Bunneh likes: Can have the sleeves going off or on or whatever!
Materials Needed:
t-shirt you think needs a make-over
Scissors
a brain
Grab your t-shirt!
I personally picked out this one as you can see right here
 |
| Pro halloween cup for colored pencils I know right? >_< |
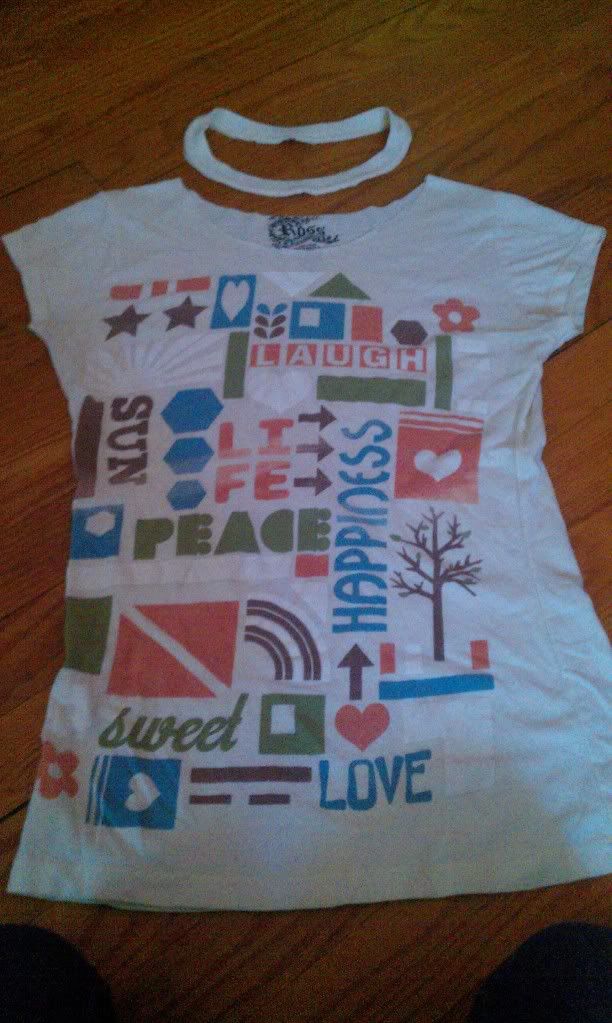
First step is lay it on a flat surface and make sure the seams are even and meet up.
Cut off the neckline if your t-shirt has one (most likely)
 |
| Oops. I didn't even out the seams, haha my bad. Looks like a halo though? |
This is literally what the end product is going to look like, and yes, the V's will have blunt ends
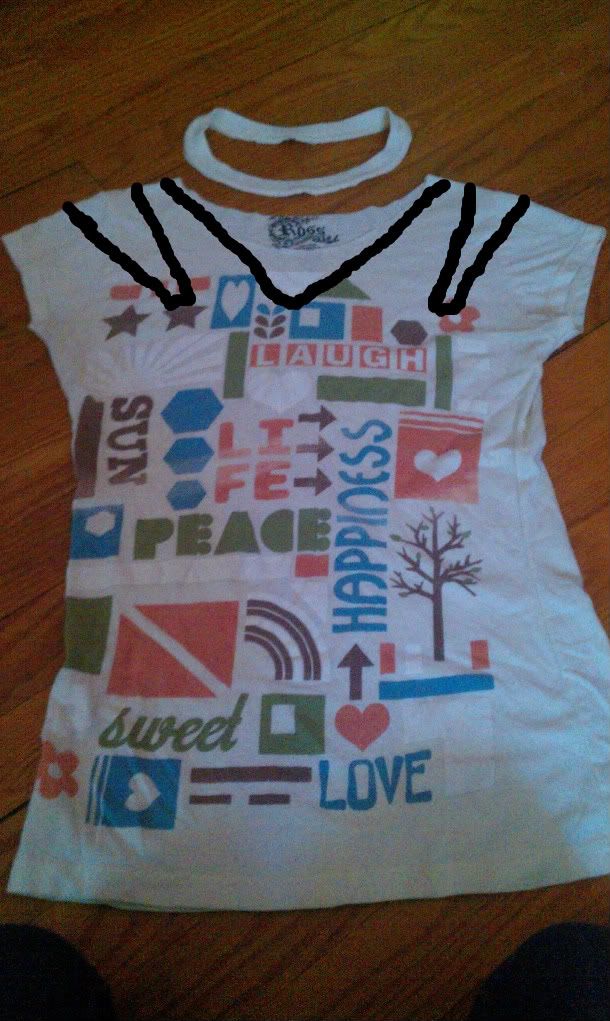 |
| Ouch... I suck at drawing onto pictures with my track pad.... |
My shirt had this triangle already so I used it as a base for my V-neck.
I cut out triangle slits on both sides.
Stretch the new cuts out.
(As in, pull on the cuts you made so the fabric just.. yeah.)
What you should see is this.
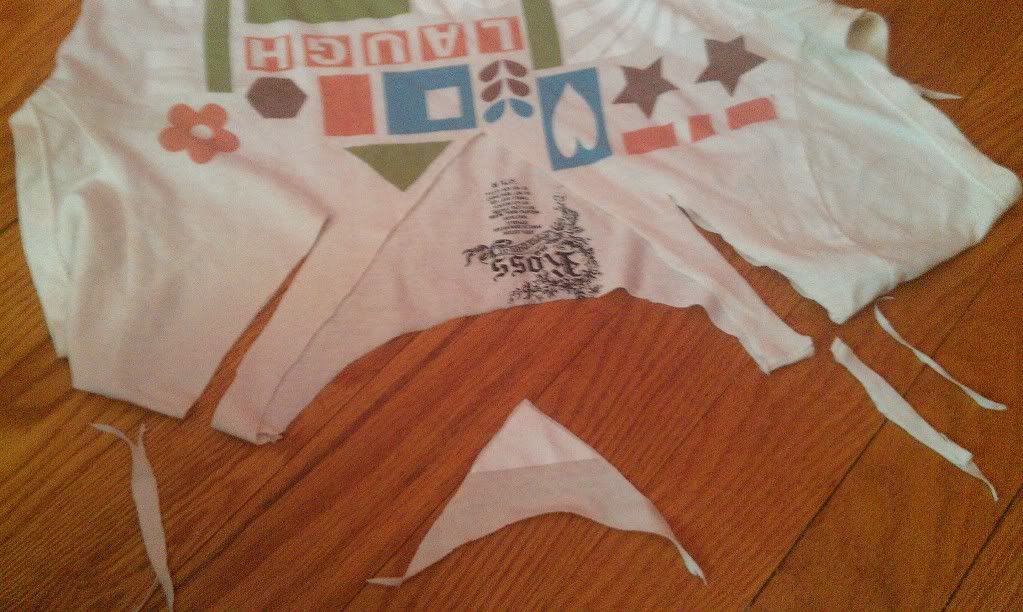 |
| You can see all the pieces I cut out so far |
At this point, just try it on, use a pencil to mark how low you want to go, or where you want the slits.
Adjust accordingly to your body shape.
For mine, I cut further to the sleeves, I thinned out the small strips so it was like a halter, sort of.
I had to restitch the seams at the strips though since the thread was weak or something.
Keep stretching out the new cuts in the shirt.
 |
| Biggest tip for shirt reconstructing is just keep stretching those lines out. |
So!
Here are pictures of the final product after you do all that!
 |
| Close up and heck yeah, no makeup! |
 |
| Mirror shot, sorry for the white on the mirror, it's paint splatters from when I painted =_= Any tips on getting paint off mirrors? Haha. |
 |
| Leaning against the wall type of pic... 'cause you know, everyone has one. |
Any questions, feel free to ask!
E-mail or comment as per usual!
-hugs and smiles-
Bunneh ♥
No comments:
Post a Comment